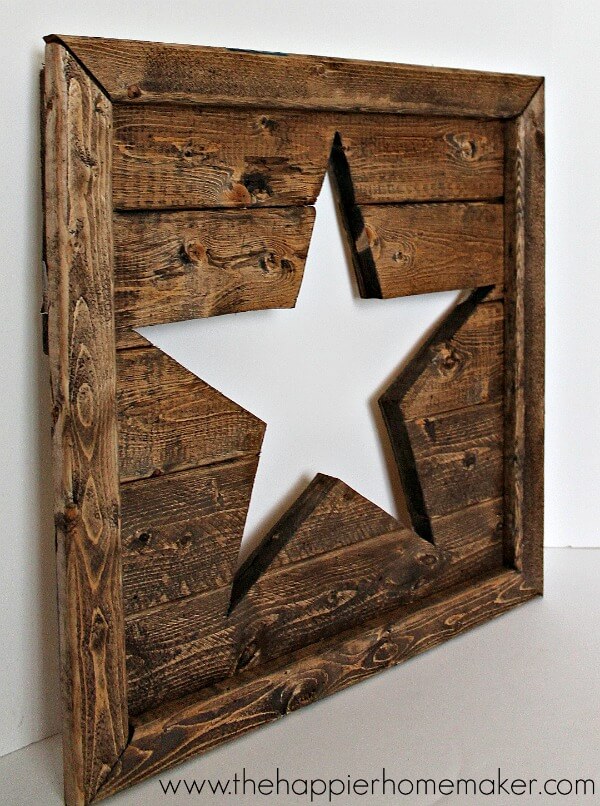
Pottery Barn Inspired Cut Out Wood Star Art
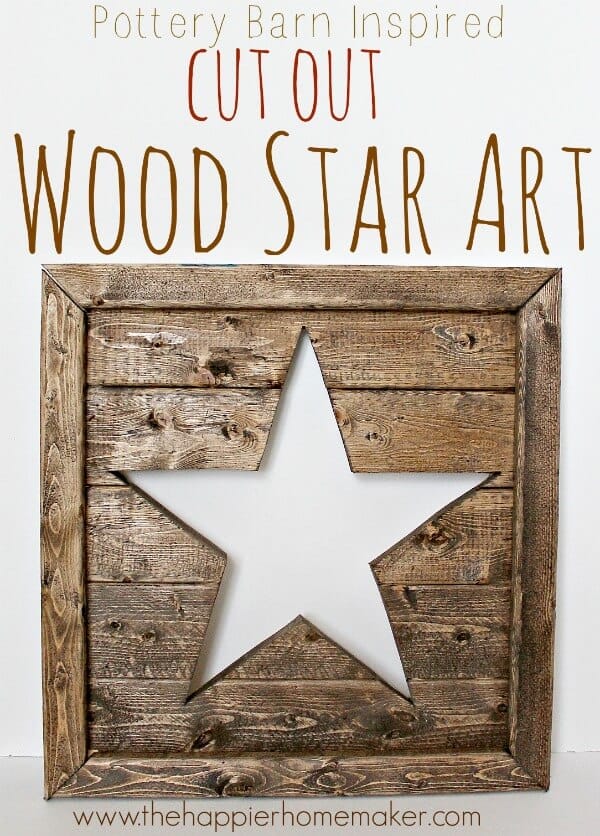
I saw this pierced wood star art in one of my Pottery Barn catalogs and loved it so much, but in came the holiday craziness and by time I was actually thinking about ordering it last week it was no longer available. Never fear! I was easily able to DIY my own version and the best part was I didn’t spend one dime, I made it all from materials I had on hand!
Supplies:
1 x 4 8 foot
1 x 2 6 foot
17.5 x 17.5″ plywood
wood glue
finishing nails
miter saw (can use circular saw if necessary)
drill and large drill bit
sanding block or sandpaper
wood conditioner
stain
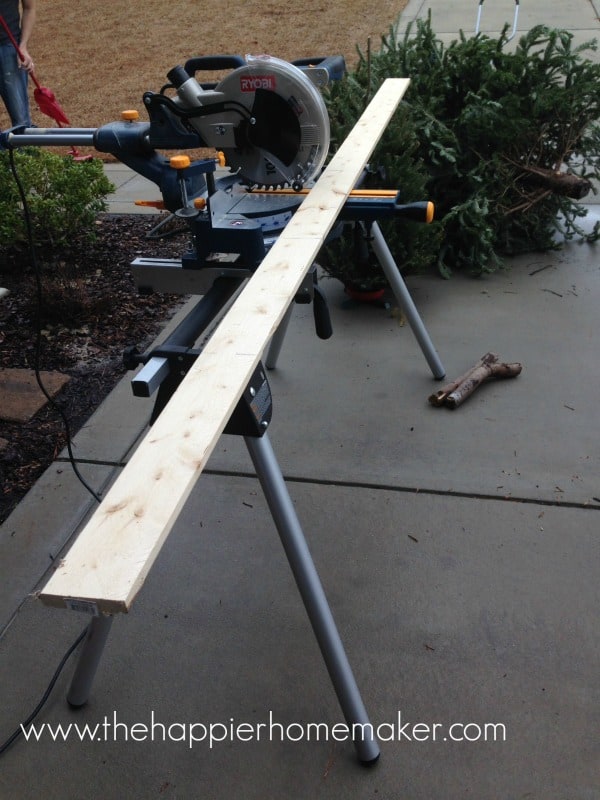
Cut (5) 17.5 inch pieces from your 1×4 wood. Set aside. Cut (4) 18 inch pieces from your 1×2 wood. (Yes I did this the same day we got rid of the Christmas tree!)
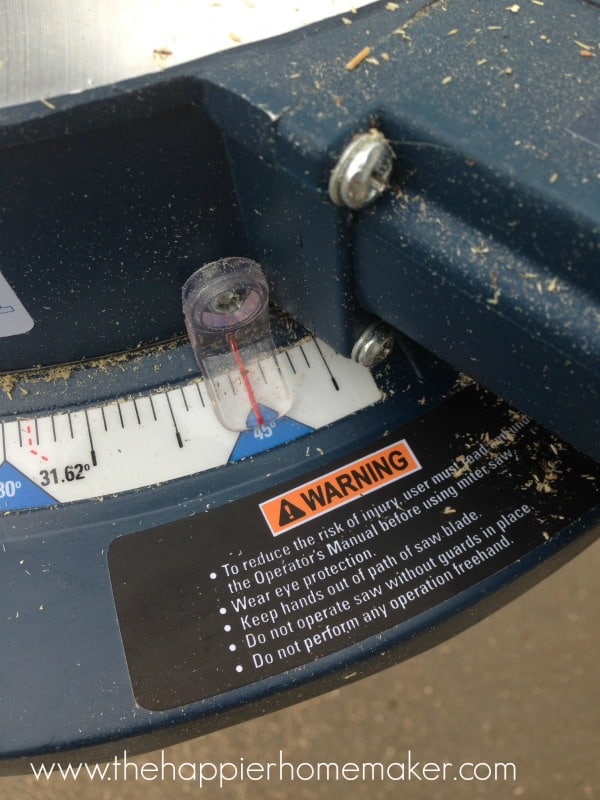
Using a miter saw (or measuring by hand if you only have a circular saw, miter the ends of the 1×2 boards at a 45 degree angle.
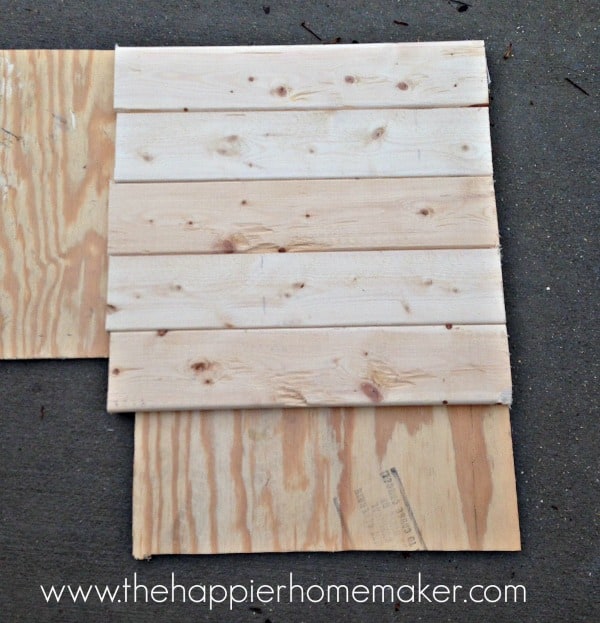
Cut your particle board in a 17.5 inch square (mine was a little shy in the corner from a previous cut but it still worked for me!
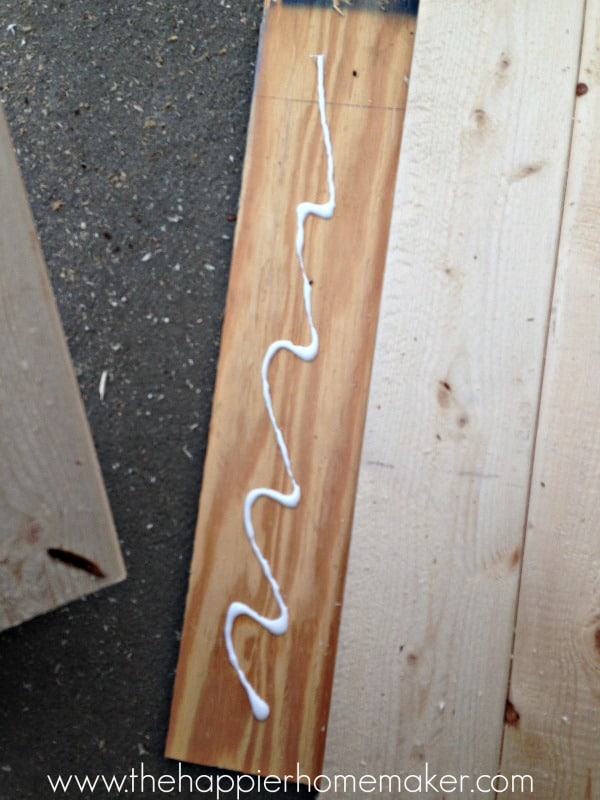
Using a generous amount of wood glue, attach the 5 pieces of your 1×4 to the particle board and cover with something heavy (or clamp if you’re fancy!) to apply pressure as the glue dries. Allow to dry for 24 hours.
Print off this star template at 170% scale.
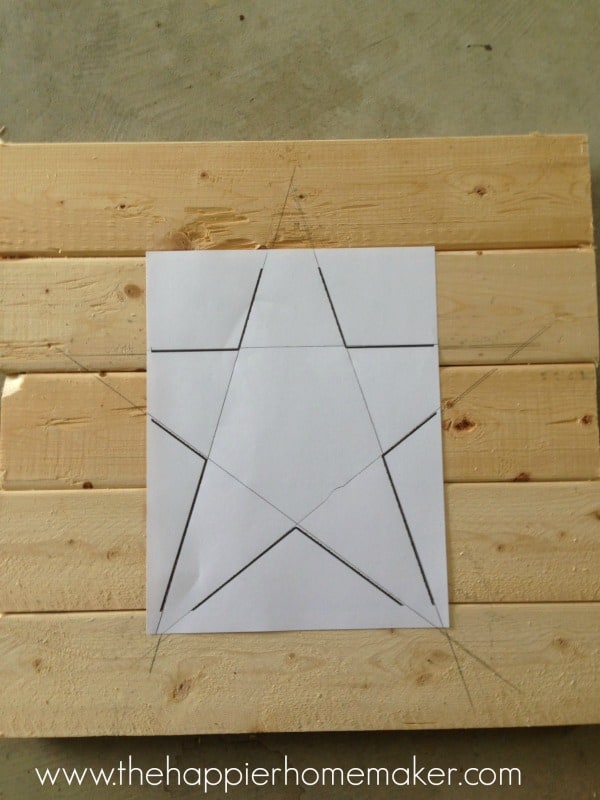
Center the star printout on the wood panel and use a ruler to trace it, following the lines of the print. Remove the paper and again use a ruler to connect the lines you just drew.
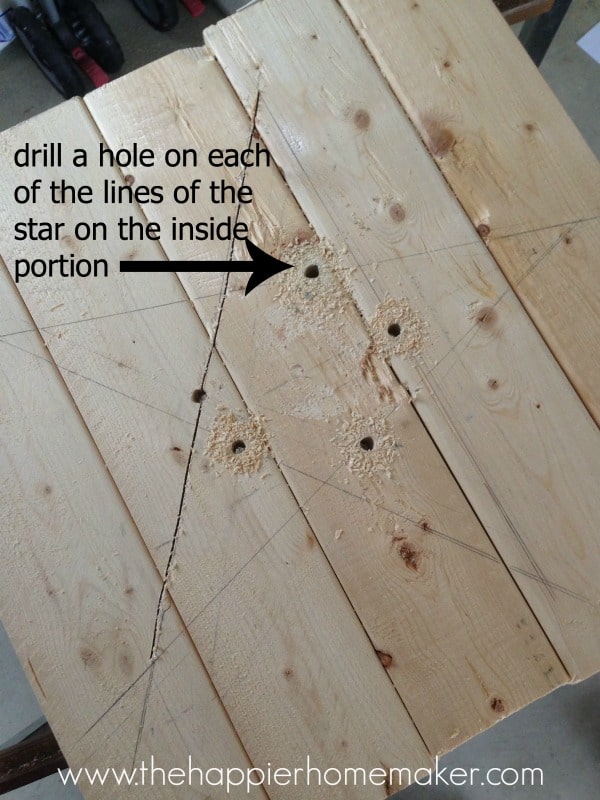
Use a large drill bit (I just picked the biggest I had, there was no measurement on it) drill a hole on each of the lines that make up your star. BE SURE to drill the holes on the INSIDE of the star so the drilled holes will be in the cut out portion of the star’s interior, not the “points.”
Use a jigsaw to carefully cut from each drilled hole to the star’s points. I found this to be a bit difficult due to the thickness of the wood and particle board so take your time and be sure to wear safety glasses (as always!)
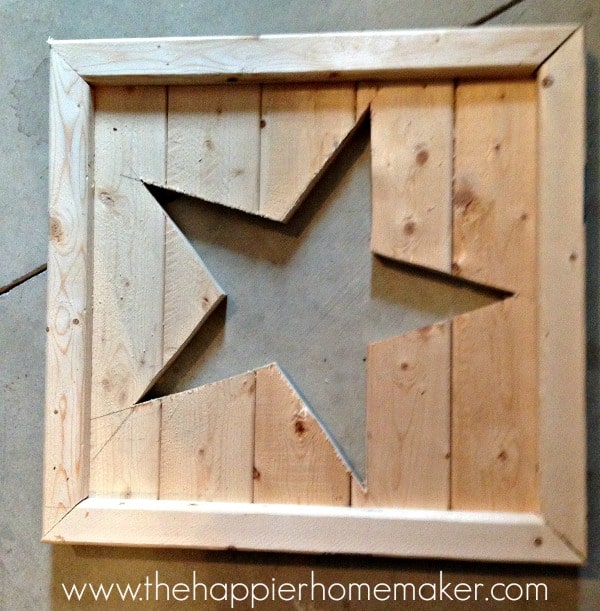
Once your star is cut out attach the 1×2 frame using wood glue and clamp or apply weight and allow to dry for 24 hours. Be sure to not get wood glue on the portions of the wood that show-it will affect how your stain looks. Also, if there are gaps or it doesn’t line up perfectly don’t stress! Part of the beauty of rustic art is the perfect imperfection!! (This also makes it a good beginner project!)
After the glue is dry you may further secure any pieces with finishing nails. I didn’t do this as mine felt very secure from the wood glue and it will not be hanging, I plan on leaning it on my mantel or other surface.
Sand any rough edges and condition the wood with a pre-stain wood conditioner (I use Minwax) and allow to dry for 2 hours. Apply stain with a foam brush-I used a Kona stain for mine.
That’s it! I couldn’t be happier with how it turned out, what do you think?


Highly descriptiνe article, I liked that a lot. Will there bе a part 2?
If you would like to grow your experience simply keep visiting
this site and be updated with the most recent news update posted here.
I love how your cut out start turned out. It really looks like a designer piece! (I am pinning to do in the future.)
Jennifer @ Decorated Chaos
I love your tutorial, I have seen this done in the shape of an apple cut out with a piece of wood behind painted with chalkboard paint. I have been wanting to make it. Now I know how to start.
That sounds really cool! I’d love to see how it turns out!
This is just great! Stars never go out of style. What a timeless piece!
LOVE this, so creative and so nicely done!! 🙂 But don’t you mean plywood instead of particle board? I’m still trying to figure out where the particle board is!
Oh you’re so right!! I’ll fix that!
I love your star project. I love all things rustic and wood so this will definitely be on my to do list, thanks for the great tutorial.
Thanks so much Betty, this has to be one of my favorite projects ever!
This is such a great diy, Melissa! I love how it turned out!
Thanks so much Emily!
This is nice! I’ll let my partner know so we can build one too.
Thanks so much Ice!!
I love this! Totally looks store bought. Great work!
Thanks so much Rebecca!
This is such a cool decoration! I can think of about 10 places I want to stick one of those in my house! 🙂 Great idea!
Thanks April! I’m so in love with it I can’t decide where to put it!!
LOVE it, Melissa!
Thanks SO much Laura!!
Love this!! Just pinned it!
Thanks do much Melissa!! *Very beautiful name by the way! 😉
This is SO cute! way to go! https://www.handmadeintheheartland.com/
Thanks so much Angela!!
Great tutorial! Your creation certainly gave me a couple of ideas. This would be nice as sign in my husband’s garage with a cut out of his project car emblem. Another is for over the door of my garden shed with flower cut out. This is a fabulous project and yours is beautiful. Thank you for sharing!
Awesome! I’d love to see any of your creations when they are finished!!!
wow, this is incredible! sharing on FB now!
Thanks so much Jocie!!
Love it! Great minds think alike. I have this on my list of project posts too. Yours came out stunning!
Thanks! I’d live to see yours when your fine if you want to leave or email me a link!!
I love this! Great idea and easy to follow tutorial.
Thanks so much Karen!!
And I thought my love was outdoor barn quilts. With a few modifications this could easily become my new favorite outdoor decoration. Thanks for the inspiration.
I’m so glad you liked it CarolAnne!!
Melissa – I absolutely LOVE this!! Great tutorial, too. Pinned so I can tackle this in the new year!
Thanks so much Keri!!!