DIY Lavender Lip Balm with Free Printable Lip Balm Labels
This post may contain affiliate links. If you purchase through links on our site, we may earn a commission.

Make your own DIY lip balm with this step by step tutorial, complete with free printable labels!
Hey, hey, hey there! It’s almost the weekend (can you see the light at the end of the tunnel?) I have a super cute little DIY for you today-DIY Lavender Lip Balm! Not only am I sharing the recipe and how-to to make this awesome all-natural lip balm but also a print and cut label file for you Silhouette owners out there!
Now, on to our DIY Lip Balm! I love using all-natural ingredients to make my own goodies and this lip balm is fantastic for keeping my parched lips glossy! (If your lips are very dry, try my Peppermint Brown Sugar Lip Scrub before this lip balm-you’ll be silky smooth in no time!)
DIY Lavendar Lip Balm Ingredients
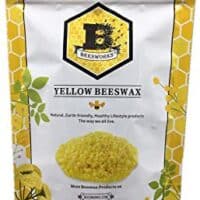
1.5 tbsp beeswax
1 tbsp organic coconut oil
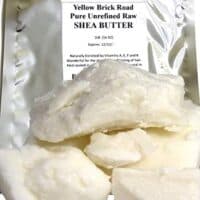
1 tbsp Shea butter (I also used this in my DIY Body Butter a while back)
10 drops Lavender Essential Oil-I use only Young Living brand
Small amount lipstick if you want to add a tint to your lip balm
How to Make DIY Lip Balm
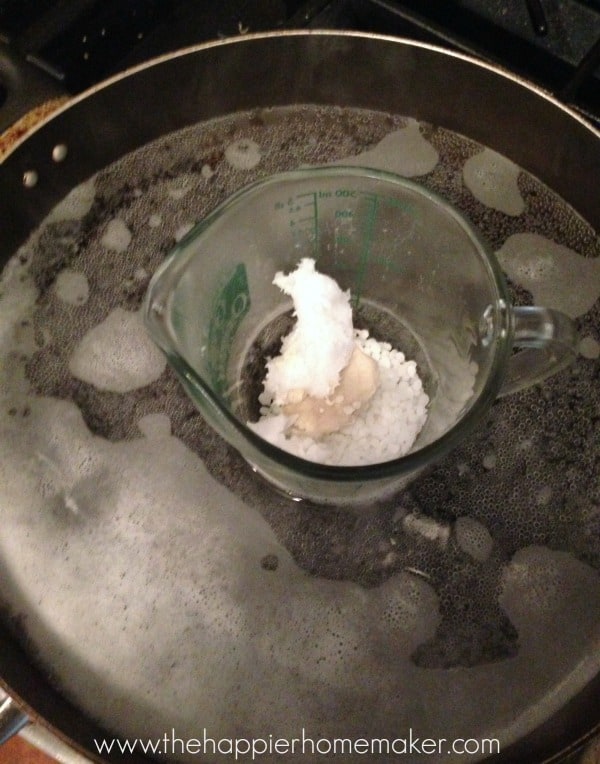
In a glass measuring cup, add your beeswax, coconut oil, and shea butter and if desired, a small sliver of lipstick to tint it to your liking. Place measuring cup in a saucepan filled with 1″ of water and heat slowly on medium until the mixture is melted. Remove from heat and allow to cool 3 minutes. Add essential oil.
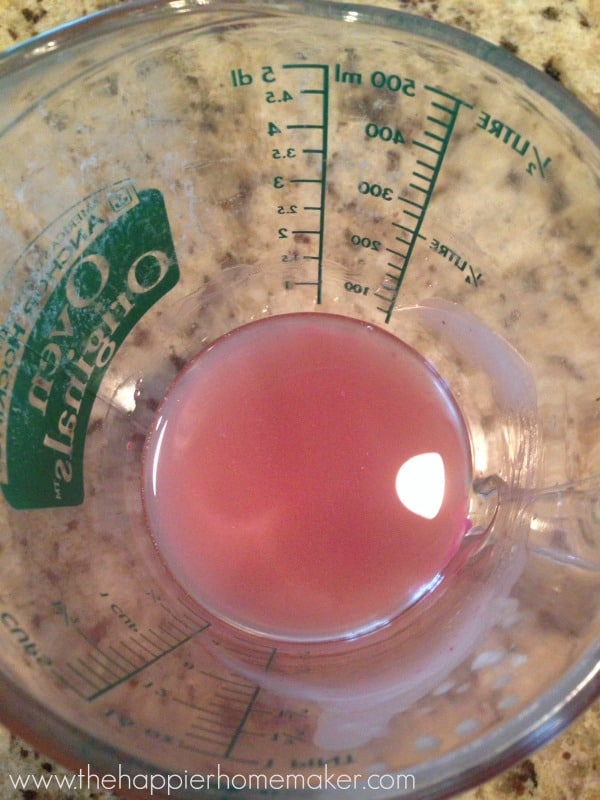
Pour into empty lip balm containers or use a disposable plastic dropper to add it. (It’s okay if it spills-allow it to cool and harden for easy clean up!) Place in refrigerator to cool at least 3 hours. This recipe makes 6 lip balms, you can easily double or triple it for easy DIY gifts!
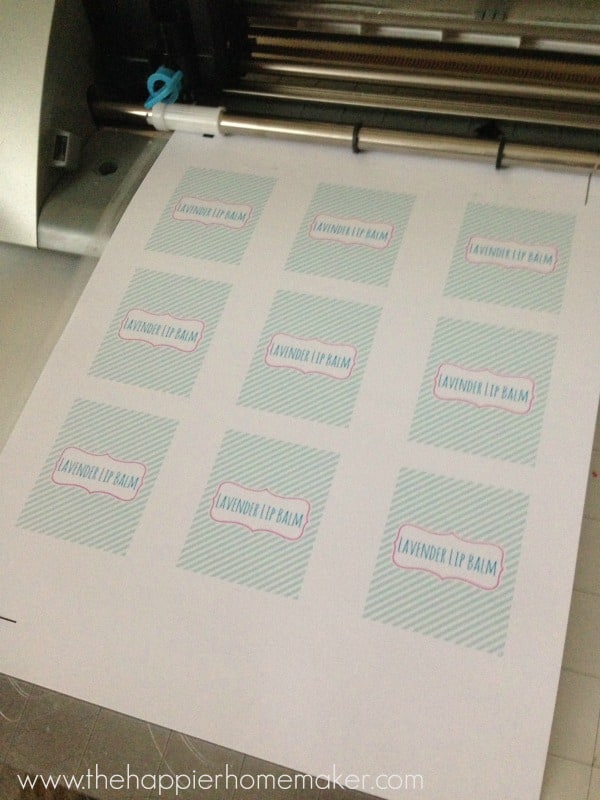
In the meantime while your lip balm is cooling you can download this free Silhouette Cut and Print file to make your labels using Silhouette Sticker Paper or, if you haven’t gotten your Silhouette yet I also created a pdf file you can print and hand-cut.
Ta-da! Yay for natural DIY! Plus, these make great gifts! Remember this lip balm, while super moisturizing, doesn’t contain SPF so protect your skin appropriately!
How to Make DIY Lavender Lip Balm
Make your own DIY lip balm with this step by step tutorial, complete with free printable labels!
Materials
- 1.5 tbsp beeswax
- 1 tbsp organic coconut oil
- 1 tbsp Shea butter
- 10 drops Lavender Essential Oil-I use only Young Living brand
- Small amount lipstick if you want to add a tint to your lip balm
Tools
- glass measuring cup or dish
- lip blam containers
- disposable eye dropper (optional)
Instructions
- In a glass measuring cup, add your beeswax, coconut oil, and shea butter and if desired, a small sliver of lipstick to tint it to your liking.
- Place measuring cup in a saucepan filled with 1″ of water and heat slowly on medium until the mixture is melted.
- Remove from heat and allow to cool 3 minutes. Add essential oil.
- Pour into empty lip balm containers or use a disposable plastic dropper to add it. (It’s okay if it spills-allow it to cool and harden for easy clean up!)
- Place in refrigerator to cool at least 3 hours.
Recommended Products
As an Amazon Associate and member of other affiliate programs, I earn from qualifying purchases.
-
 Yellow Brick Road 100% Raw Unrefined Shea Butter-African Grade a Ivory 1 Pound (16oz)
 -
Beesworks® Beeswax Pellets, Yellow, 1lb-Cosmetic Grade-Triple Filtered Beeswax.
-
Lip Balm Container Tubes - 25-Pack (5x5 colors) - DIY - 3/16 Oz (5.5 ml) - Including 25 Writeable (5x5 colors) & 25 Printed Stickers - Twist Mechanism and Cap - Empty - Make Lip Balm Chapsticks
-
Rienar White 3ML Disposable Plastic Eye Dropper Set Transfer Graduated Pipettes (20 PCS)
Where is the PDF file?
Hi Addie, I don’t have it as a pdf file, just a svg file for printing and cutting on the Silhouette unfortuantely.
can this be put in one of those containers that are tubes and you apply with the little stick that’s inside of it… kinda like how mascara is
It’s amazing in favor of me to have a web site, which is useful
in support of my experience. thanks admin
I can’t wait to try your recipe!! I just made a similar recipe that included cocoa butter but it smells a little more chocolatey than I had hoped so I can’t wait to try this recipe with shea instead!
You recipe sounds great! But can you share what lipstick did you use? Thanks!
Bianca I used a sliver of cheap lipstick I got as part of an ulta kit years ago.
Seriously easy recipe to make! And including the printables too? Thanks! Loving your website!!!
That lip balm is cool, I may have to try that. Thank you 🙂
I love lavender. Great job! Love my Silhouette Cameo, too.
I’d love for you to link up at Link’n Blogs, if you haven’t already. 🙂
https://iputabirdonit.blogspot.com/2014/03/linkn-blogs-17-giveaway.html
xo
Daniela
Put A Bird On It
Thanks Daniela, I don’t know what I did before my Silhouette!!
What a great idea, Melissa! I like to make DIY natural body products but haven’t ever tried lip balm. pinned!
Thanks Jelli! I’ve been on a rampage lately trying to DIY about every beauty/body product I can!
Love the lip balm and great tutorial!
Great giveaway Melissa!!
Thanks!
Nancy
Wow! I’m also so impressed at people who are able to make their own cosmetics. I don’t know why I find it so intimidating, but I do. Maybe it’s because it goes on my body, and so I’m worried that if I do something wrong it will have dire circumstances? Who knows! But the point is, great tutorial!
Thanks Kristy! I was nervous to start too but now I’m a woman obsessed, I’m constantly trying new recipes! Hope you had a good weekend!
All the more reason to make your own–at least then you will know the products you are putting on your body! Too many of the things we find on the shelves have horrendous ingredients.
LOVE that lip balm recipe – pinned!!
Thanks Keri! Hope you had a great start to your Spring Break!