Traditional Irish Soda Bread – Easy Recipe

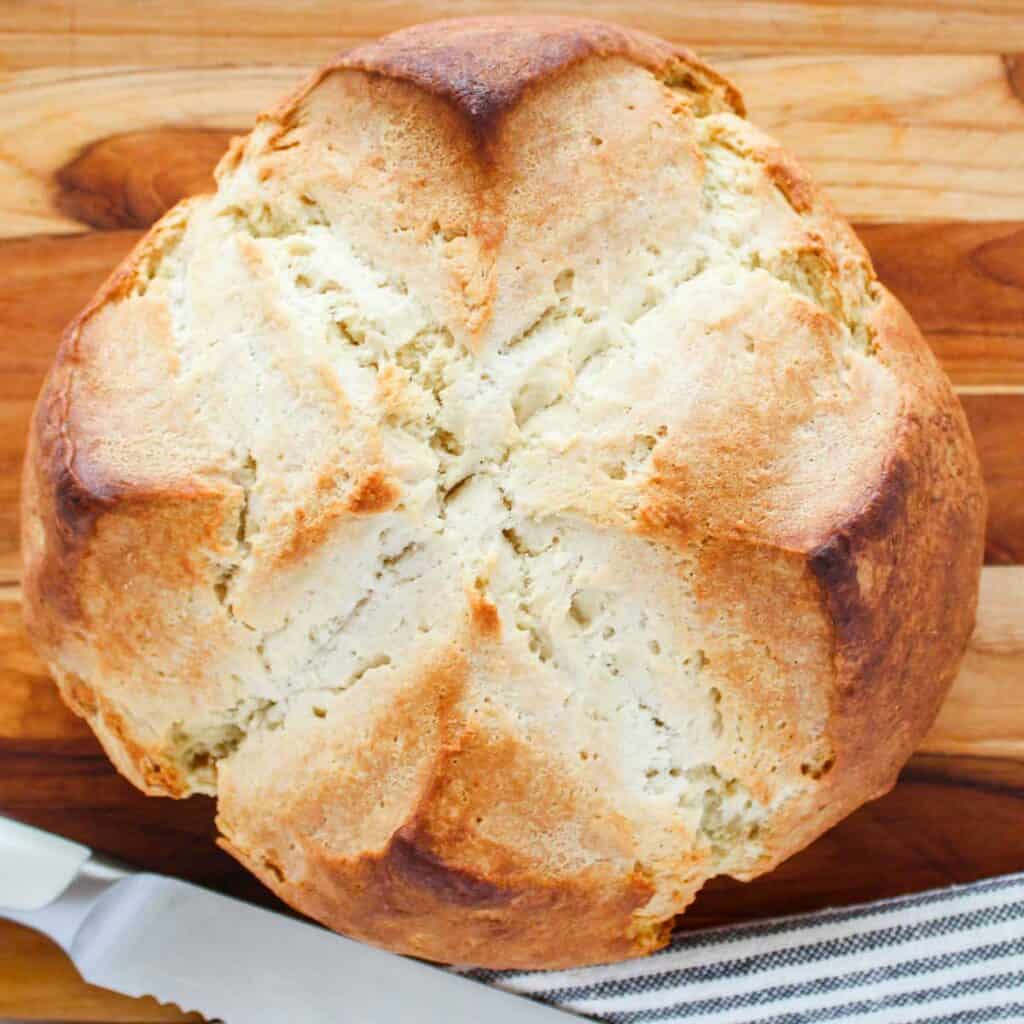
Indulge in the delightful taste of traditional Irish soda bread with our easy-to-follow recipe. This time-honored treat boasts a crusty exterior and a tender, flavorful interior, perfect for any occasion.

Want to save this recipe?
Enter your email & I’ll send it to your inbox. Plus, get great new recipes from me every week!
Irish soda bread is a versatile and delicious quick bread recipe that is easy to make at home. This bread is a staple in many homes and can be enjoyed for breakfast or as an afternoon snack.
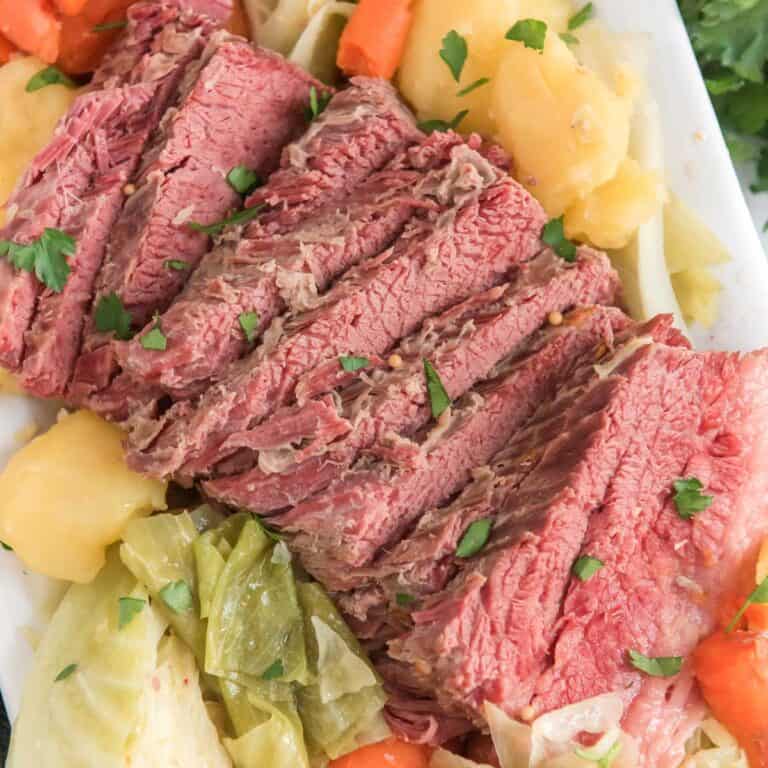
In the United States, many people like to make this bread for St. Patrick’s Day with other traditional Irish foods like corned beef and cabbage or Guinness beef stew!
In addition to my tried-and-true recipe for making Irish soda bread, there are also some tips and tricks to help you get the perfect loaf. This very easy bread recipe will likely become one of your favorites, even if you don’t have any Irish roots!
What is Authentic Irish Soda Bread?
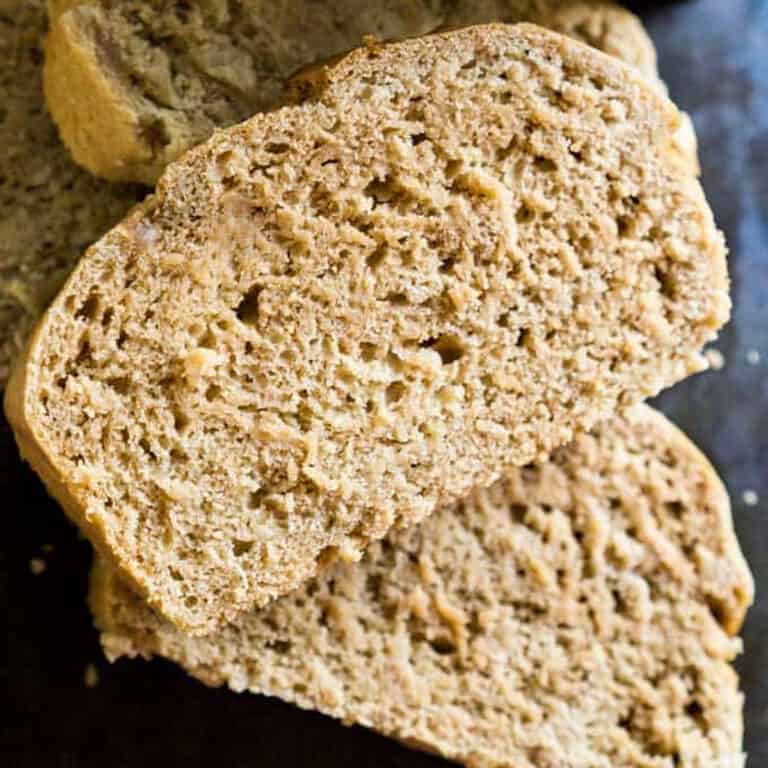
Authentic Irish soda bread is a beloved traditional loaf that originated from Ireland in the 1840s when baking soda was introduced. It is a quick bread, meaning it is made without yeast, which means no waiting for the dough to rise.
Made with only a handful of simple ingredients like flour, baking soda, buttermilk, and salt, it showcases a rustic texture and unique flavor, boasting a cross-cut on top symbolizing blessings and warding off evil spirits.
Ingredients:
- all purpose flour
- sugar
- baking powder
- baking soda
- salt
- buttermilk
- butter
- egg
Step by step
- Preheat the oven to 375 degrees and line a cookie sheet with parchment paper. Set it aside.
- Using a stand mixer (affiliate link), add all dry bread ingredients to the bowl and whisk to combine.
- Add the wet bread ingredients to the bowl and use the paddle attachment to combine all ingredients well.
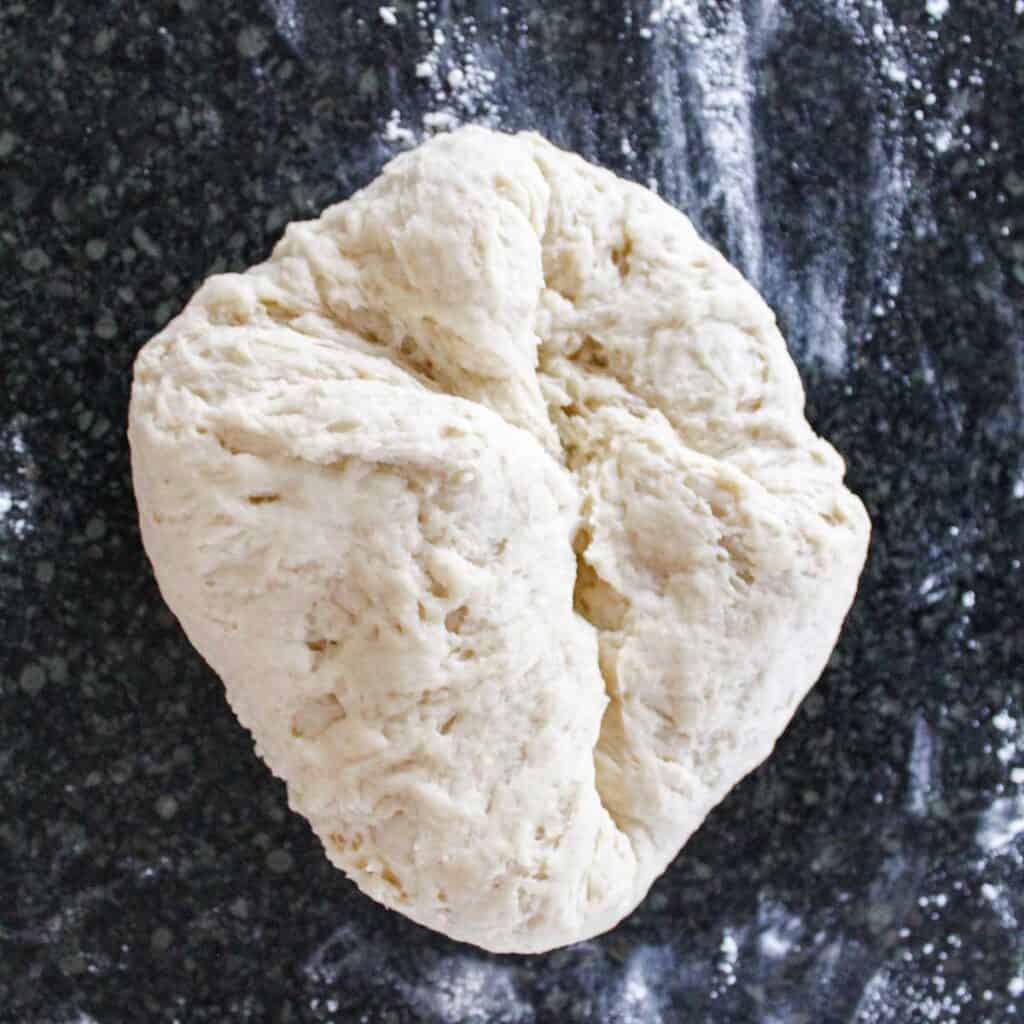
- Scoop the dough out to kneed for about 10 minutes on a lightly floured surface. Dust it with more white flour as needed. When it reaches a play dough consistency, it’s done.
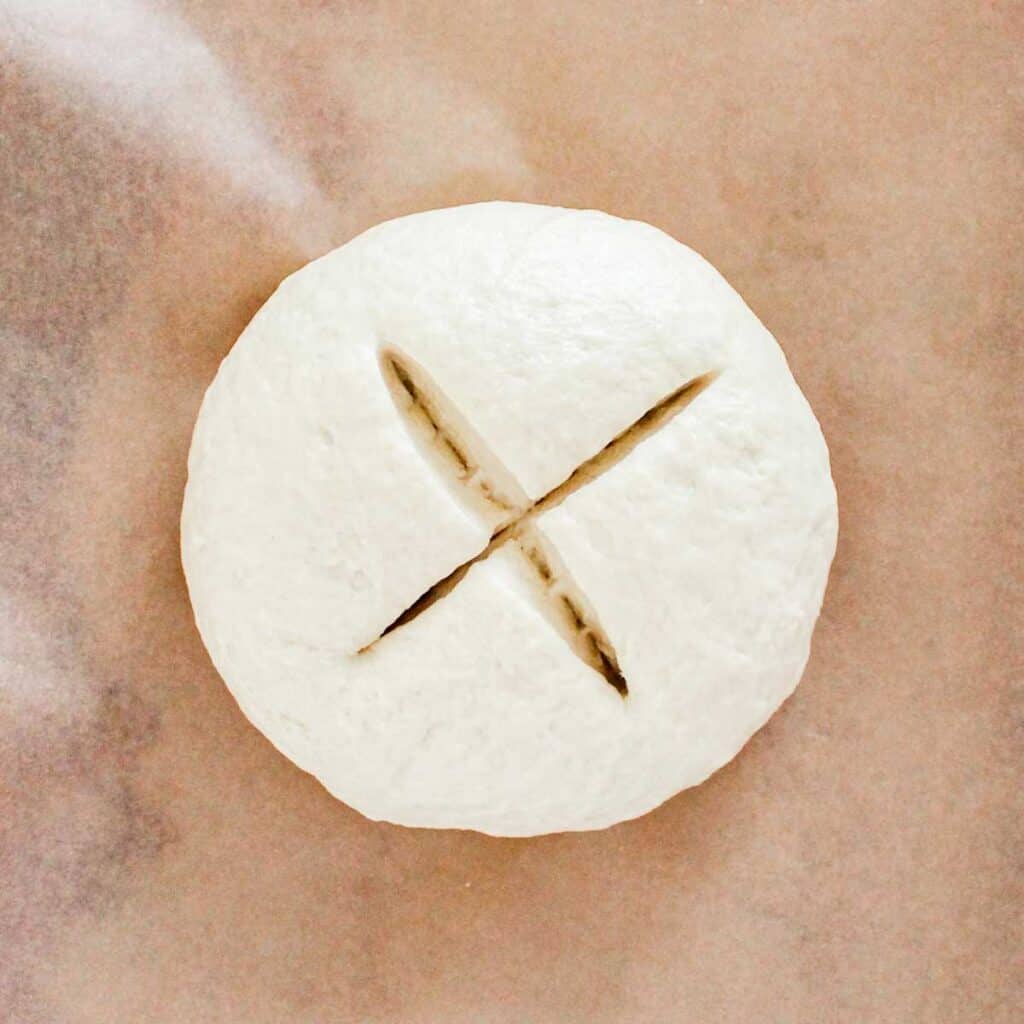
- Form the dough into a loaf and place it on the lined baking sheet. Using a small sharp knife, cut a large deep X at the top of the dough to help it cook thoroughly.

- Bake in a preheated oven for 15 minutes.
- Meanwhile, make the topping by melting the butter in a microwave-safe bowl. Add the buttermilk to the butter and mix together well.
- When the 15 minutes are done, take the bread out of the oven. Gently, brush some of the topping over the top and place it back in the oven for another 15 minutes. Keep the leftover glaze.
- After 15 minutes of baking time, take the bread out and brush it again with the topping. Place it back in the oven for a final 15 minutes.
- When that 15-minute is up, use a toothpick and check the middle of your bread. If it comes out clean it is done. If it doesn’t, top it again and put it back in for a final 10 minutes.
- Once done, let the bread rest for 20 minutes. Then serve with butter, jam, or your favorite soup.
Tips for the Best Irish Soda Bread
- Don’t Overmix: When combining the wet and dry ingredients, be cautious not to overmix the dough. Overmixing can result in a tough and dense bread. Mix until the ingredients are just combined.
- Use Buttermilk: Traditional Irish soda bread relies on buttermilk for its tangy flavor and to activate the baking soda. If you don’t have buttermilk, you can make a substitute by adding 1 tablespoon of vinegar or lemon juice to 1 cup of milk and letting it sit for a few minutes.
- Make a Cross on Top: Before baking, use a sharp knife to make a deep cross on the top of the dough. This helps the bread to cook evenly and also holds cultural significance in Irish folklore.
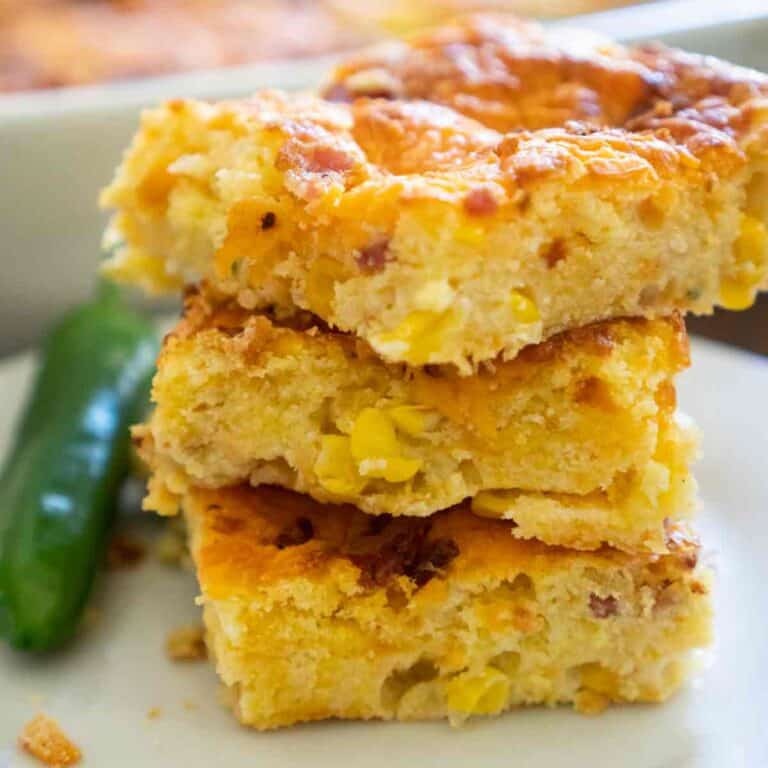
- Add Extras: While traditional Irish soda bread is simple, you can add extras like raisins, currants, caraway seeds, or even grated cheese to enhance the flavor and texture.
- Preheat the Pan: For an extra crispy bottom crust, use a cast-iron skillet or a baking stone, make sure to preheat it in the oven before placing the dough on it.
- Use a Thermometer: To ensure the bread is thoroughly baked, use a food thermometer. The internal temperature should reach around 190°F.
- Let It Rest: Once the soda bread is out of the oven, resist the temptation to cut it immediately. Allow it to cool on a wire rack for at least 15-20 minutes to let the crumb set properly.
- Wrap Properly: Store any leftovers in a plastic bag or wrap them in a clean kitchen towel to maintain freshness. However, Irish soda bread is best enjoyed on the day it’s baked.
By following these tips, you can create a wonderful batch of authentic Irish soda bread that will surely impress your family and friends!
If you try this recipe please comment and rate it below, I love hearing from you!
If you liked this recipe, you’ll love my free 5-Ingredient Dinner Challenge.
I’ll send you super simple meals that use just five ingredients and come together fast — perfect for busy weeknights when you don’t want to overthink dinner.

Traditional Irish Soda Bread – Easy Recipe
- Total Time: 1 hour 5 minutes
- Yield: 6 1x
Description
Indulge in the delightful taste of traditional Irish soda bread with our easy-to-follow recipe. This time-honored treat boasts a crusty exterior and a tender, flavorful interior, perfect for any occasion.
Ingredients
- 4 cups of flour
- 4 tbsp sugar
- 1 tbsp baking powder
- 1 tsp baking soda
- 1/2 tsp salt
- 1 and 1/4 cups buttermilk
- 1/2 cup softened butter (one stick)
- 1 egg
- 1/4 cup butter, melted
- 1/4 cup buttermilk
Instructions
- Preheat the oven to 375 degrees and line a cookie sheet with parchment paper. Set it aside.
- Using a stand mixer (affiliate link), add all dry bread ingredients to the bowl and whisk to combine.
- Add the wet bread ingredients to the bowl and use the paddle attachment to combine all ingredients well.
- Flour a clean surface and scoop the dough out to kneed for about 10 minutes. Dust it with more flour as needed. When it reaches a play dough consistency, it’s done.
- Form the dough into a loaf and place it on the lined cookie sheet. Using a small knife, cut a large deep X at the top of the dough to help it cook thoroughly.
- Bake for 15 minutes.
- Meanwhile, make the topping by melting the butter in a microwave-safe bowl. Add the buttermilk to the butter and mix together well.
- When the 15 minutes are done, take the bread out of the oven. Gently, brush some of the topping over the top and place it back in the oven for another 15 minutes. Keep the leftover glaze.
- After 15 minutes, take the bread out and brush it again with the topping. Place it back in the oven for a final 15 minutes.
- When that 15-minute is up, use a toothpick and check the middle of your bread. If it comes out clean it is done. If it doesn’t, top it again and put it back in for a final 10 minutes.
- Once done, let the bread rest for 20 minutes. Then serve with butter, jam, or your favorite soup.
- Prep Time: 20 minutes
- Cook Time: 45 minutes
- Category: side
- Method: baking
- Cuisine: Irish
Nutrition
- Serving Size: 1/6th loaf
- Calories: 591
- Sugar: 11.6 g
- Sodium: 486.7 mg
- Fat: 26.7 g
- Carbohydrates: 76.2 g
- Fiber: 2.3 g
- Protein: 11.9 g
- Cholesterol: 98.7 mg

perfect recipe, thank you