How to Make a DIY Food Photography Backdrop
This post may contain affiliate links. If you purchase through links on our site, we may earn a commission.
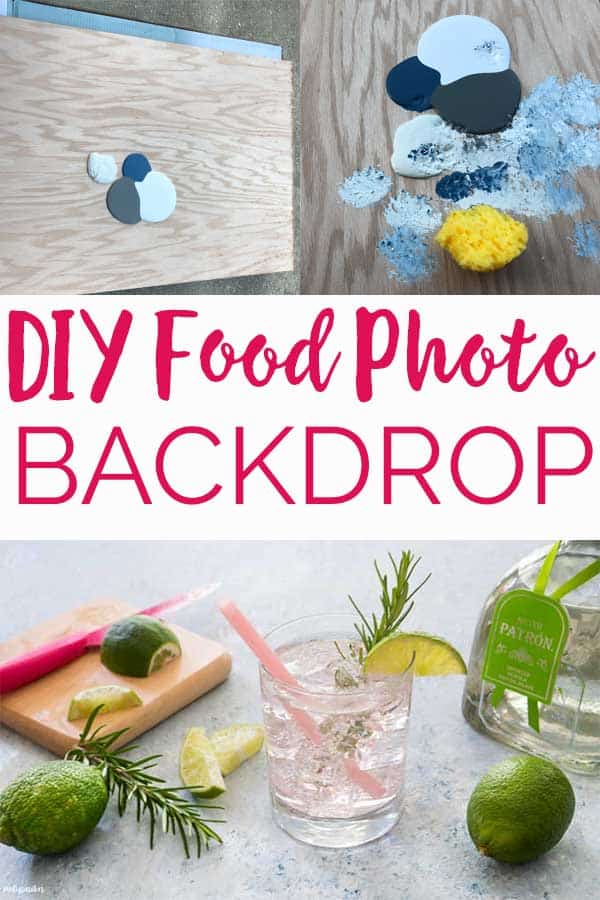
Today’s post is a little off-topic but I just had to share because I know many of my readers are bloggers and/or love taking photos of food as much as I do. For literally years I’ve been meaning to make a new DIY food photography backdrop but I had been putting it off because of moving to the UK for a year. Once we moved back to Georgia last summer my husband had some extra wood and I asked him to set it aside for me so I could make a new backdrop.
And then six months went by. I honestly put this project off forever!
And my sweet, super organized husband wanted that wood out of the garage. So finally last week I made my new photography backdrop and I took pictures along the way to show you just how easy it was!
Supplies:
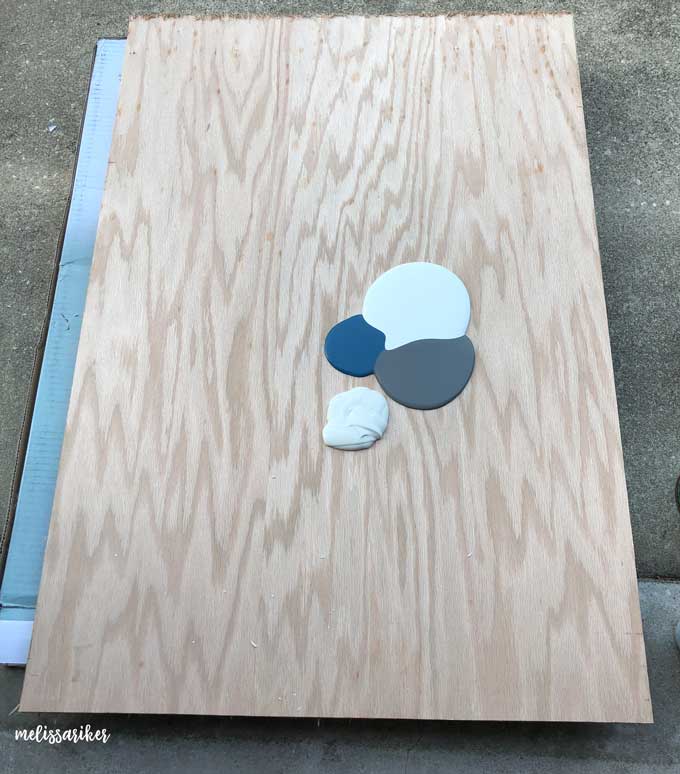
- scrap wood
- 3-4 paint colors of your choice
- sponge
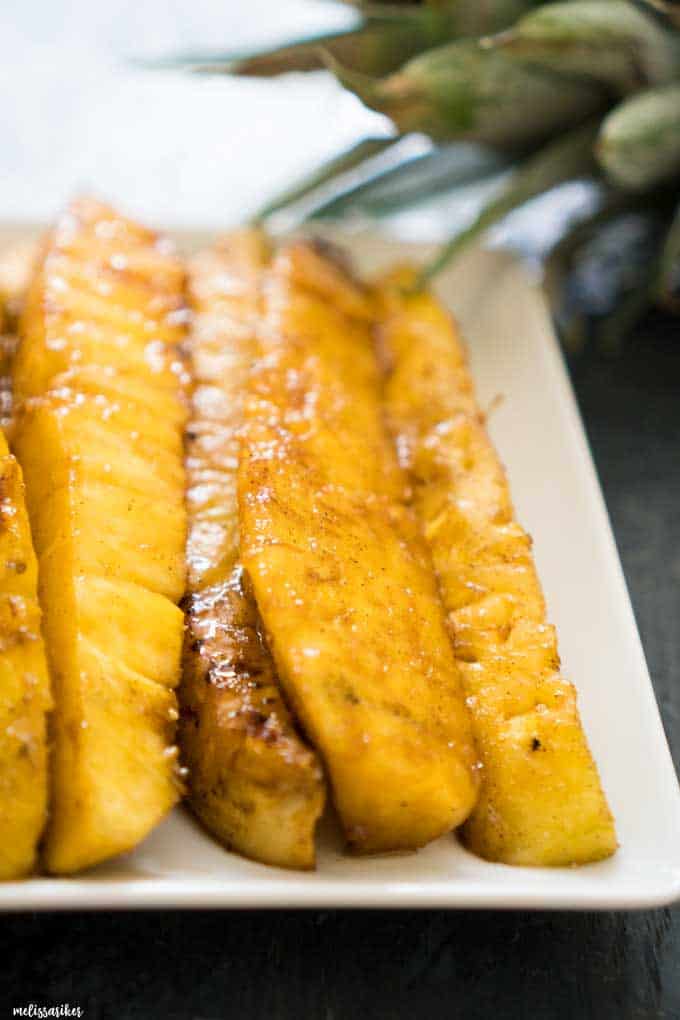
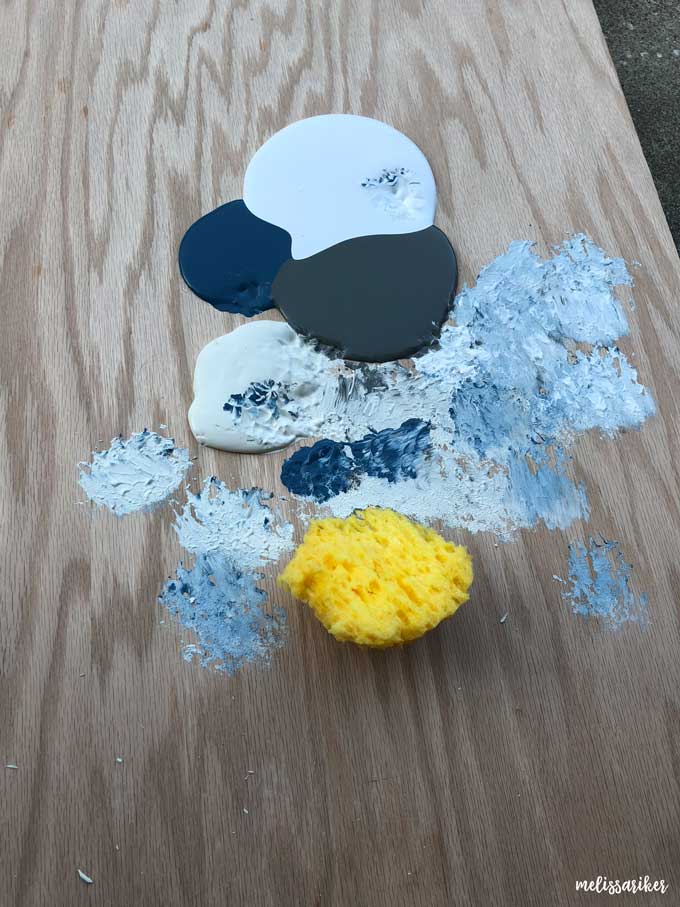
There is a lot of leeway in choosing your supplies for this project. I used extra plywood we had on hand, approximately 3.5 feet by 2.5 feet to give me plenty of room for setting up my food shots. On both sides of my board (yes, I forgot to mention I painted each side differently so I get two backdrops in one!) I used this Martha Stewart Paint in Linen as my lightest color. The other three colors were Valspar color samples from Lowes. The picture above is the paint I poured for the lighter background I made that’s also featured in the food photo at the top of this post. I used a lot of the pale blue-gray and linen colors with less gray and blue.
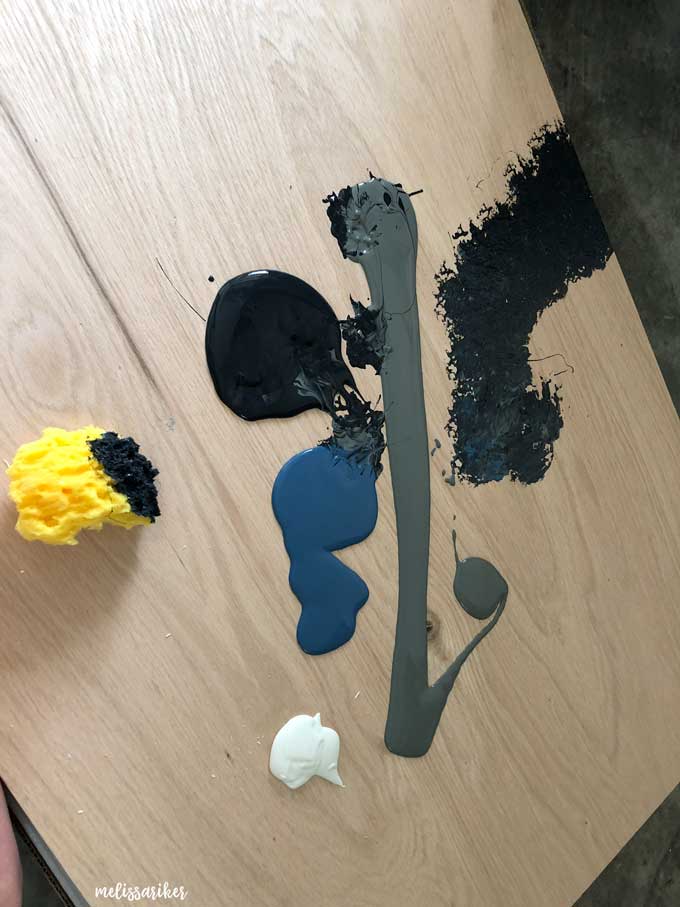
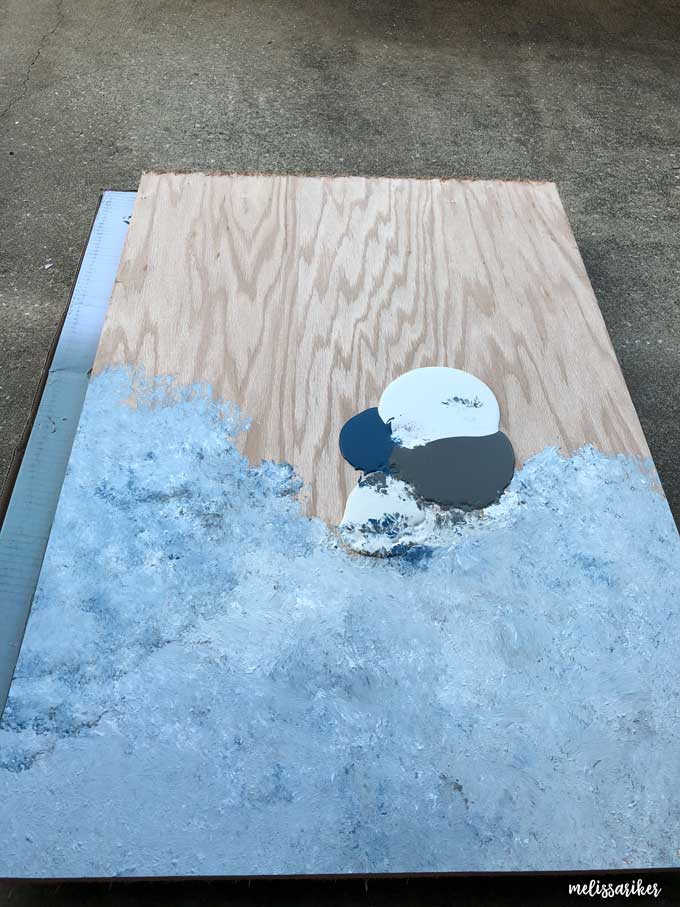
This is the ratio that I used for the darker side I made, you can see that one in the picture below, it almost looks like a baking sheet type texture in the photo.
Back to the tutorial…simply add your paint to the board and use the sponge to blend. As you start you’ll quickly get the hang of it. Do not overblend, you will want the variation and texture to remain.
As you work you can also adjust different areas as needed. For both sides of this board I ended up using paper towels to mop up the excess color I decided I wasn’t going to use.
Here is a picture of the finished board on each side just sitting in my office so you can see how it looks without the food and staging. (I have no idea why the lighting looks so different, I literally took these pictures about 3 seconds apart in the same exact spot.)
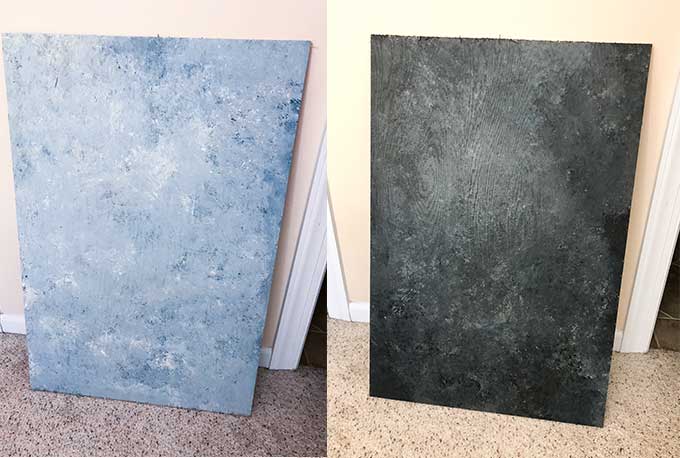
I love how it turned out so much, and it only took about 15 minutes per side and cost less than $20! That’s so much better than the $200 I had seen them on sale for online!
Have you made your own food photography backdrop? Leave me a link or picture in the comments so I can see it!

I’m so sorry, I know this post was from last year and you may not see this but I’m a complete beginner in the art of food photography and especially backdrop making. I’m not quite sure I understand how you applied the paint? I see the sponge but did you apply them in a specific order? Layers? Maybe I’m overthinking this but I don’t wanna mess up I guess ?? Thank you in advance!
just sponge it on and layer, it will take care of itself! I squirted some of each color paint on the wood then sponged it to blend…it is way easier than you think!
Hi, nice tutorial. About the lighting of the finished boards – if you took the pictures on Auto and metering of full image, the black rectangle makes your camera (which sets exposure to make everything into medium grey) think it needs to open up more/for longer time/with higher sensor sensitivity (ISO). Hence, it seems you had much more light in the second picture 😉
Thanks Petr, I actually think I took them with my phone so that would make sense! ~Melissa
These are great! Easy and inexpensive. I only have a couple of backgrounds now and it shows. I’m going to give this a try. Thanks for taking the time to post this.