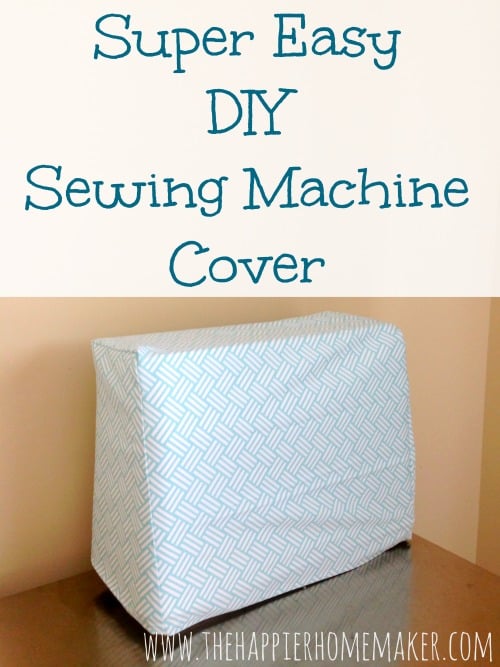
Super Duper Easy DIY Sewing Machine Cover
This post may contain affiliate links. If you purchase through links on our site, we may earn a commission.
The other day I was in my craft room and I kept hearing a little voice.
It wasn’t the boys, they were playing downstairs.
It wasn’t the cat calmly purring in my lap or the dog asleep in the hallway.
It came from my workstation, and it was quietly but persistently asking me for help.
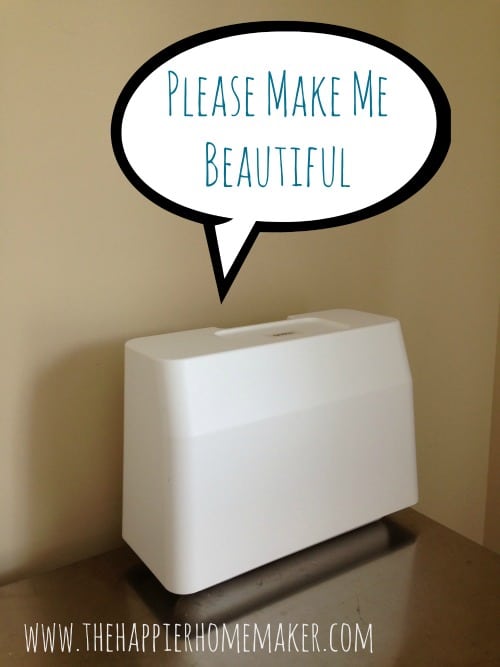
It was my sewing machine and she was sad. She felt unadorned and plain in the midst of my Hollywood Regency inspired craft room. She was begging for a little pizazz (and some dust protection!) So I, the one who sews not so good, created for her this DIY sewing cover and if I can do it-believe me you can too!
Materials:
1/2 yard of fabric that makes you happy
Scissors
A sewing machine
A half hour of your life
The first thing I did was measure my sewing machine cover. I started at the bottom middle of the longest side, went up over the top and to the bottom of the other side. This measurement was 30″ for my machine. Then I measured the widest section and this was 16″. On the sides I measured the top and bottom dimensions and width and took note. I added an inch to each measurement to allow for a 1/2″ seam allowance on all sides and here is what I cut out:

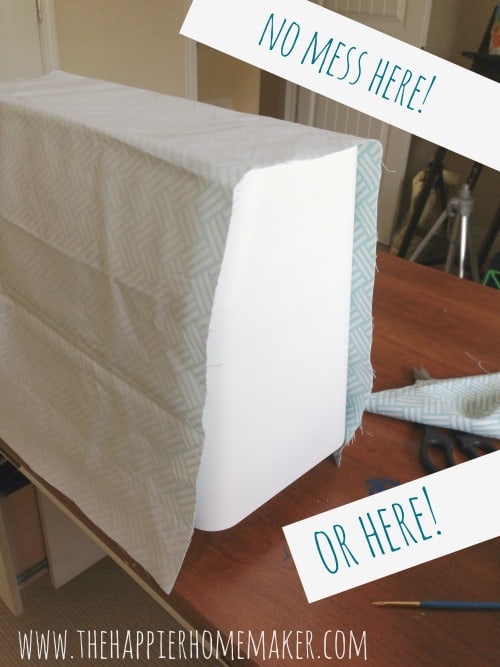
Next I draped my largest piece of fabric over my sewing machine cover inside out so ensure the measurements and fit would be correct. (Obviously there is never any clutter in my craft room-there isn’t craft paint all over my desk either…obviously.)
I used straight pins to pin the sides of the cover to the main section, again with my fabric inside out.
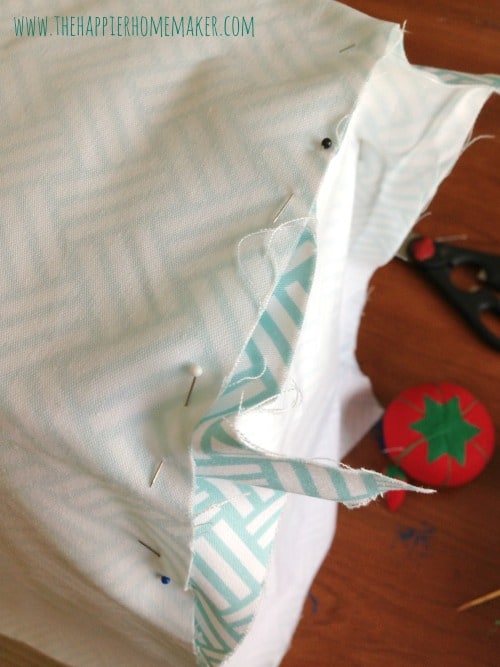
After the cover was all pinned it was as simple as sewing the pieces together and then hemming the bottom.
A little sewing tip-pressing the seams before hemming them seriously changed my life. It makes sewing SO much easier. I always thought it was a small step I was skipping just to hurry through a project but don’t skip it.
Seriously. Don’t.
Anywho, my little abused sewing machine sits pretty now in the craft room and she’s not doing that creepy whispering thing anymore either, so that’s great.
So am I the only not-so-fancy seamstress out there? Any other tips from the pros for those of use who are barely keeping a straight hem?


After searching through pinterest for more than a week for a simple pattern that I can make with my limited skills I am happy to say my first attempt at your pattern has been successful and now that I know I can do it I will be finding some cute fabric and making a fun cover for my sewing machine the first one was just some cheap plain white fabric I didn’t trust myself with the good stuff yet
A simple pattern but can’t figure out how to adapt the pattern for a machine that has an extended table which goes beyond the actual machine.
Wanted to post a picture of my completed piece but thats ok. Thank you for breaking it down into easy steps. I had an idea of how to make it but you showed me how to execute my plan. I made a simple cover for my older Singer machine from my great grandmother. Used up some awesome large print cloth I had stashed back from my husband’s aunt. So win win all the way round.
Just getting back into sewing after a long long time and bought myself a second hand machine who’s cover is plastic and ripped.So first project is to get some good quality calico and sew a new one. Your pattern looks so easy so wish me luck!
Good luck Veronica!
I love this idea. Simple and perfect. Of course, I plan to make it harder on myself by trying to figure out if I can make it with French seams., just because I don’t like unfinished edges and because I’ve just learned how to do a French seam., so I want to make all the seams French. Wish me luck. I may be getting in over my head, lol!
Thank you for this idea! I have a brand new machine that I haven’t used and today I wiped a bunch of dust off of it. I used to sew when I was younger but it’s been a while, and I wanted to start with a simple project. Your tutorial was easy to follow. I forgot that the wide table was off. If I had remembered that, I would have made the cover bigger. Mine also looks like a paper bag because the scrap of fabric I used is that color. No matter, I’m so happy I found your tutorial and made the cover to protect my machine!
I’m so glad you found it helpful! I sewed so much when I was younger but have unfortunately lost most of my skills, I hold steady at the beginner level at least! ~Melissa
I used your tutorial about 5 years ago.
I was a beginner/beginner & just could not measure correctly despite 1 pattern & two other “simple” tutorials that weren’t so simple.
Because if your directions, I was able to make a cover & am back again to make another.
Thank you!!!
That’s so wonderful Gina! Thanks so much for taking the time to share that with me, even after all these years I’m still a beginner sewer! lol ~Melissa
Hi Tina,
Thank you for this idea. i’m “SEW’ new at this sewing. So this will be my first real project b/c my sewing machine doesnt have any cover. Thanks for posting this and hopefully “sew” easy for a beginner like me.
OMGOSH! I Meant to type Melissa not tina! Please accept my apologies….
Haha no problem Angie-I am a beginner sewer myself so I know if I can make this you can too!! ~Melissa
Hi! LOVE your easy to follow and quick tutorial! I have some Mary Engelbreit fabric that has been waiting patiently to be made into a cover for my sewing machine!
I do have a question, though: I was curious about your sewing machine cover (the hard one pictured)…Is it for a Brother CS 6000i machine?
I ask because it looks exactly like my sewing machine cover (I have a Brother CS 6000i).
If so, then it looks like the measurements would be the same.
Thank you!
I believe it is Tina but it’s actually in storage right now (we moved last year and are short on space) and I cannot check for sure, sorry! ~Melissa
Melissa, I totally understand (been there, done that, lol!)!
I compared my measurements to yours and they were pretty much spot on.
Thanks for the help! 🙂
P.S.
THANK YOU! for you and your husband’s service to our country!
We appreciate everything y’all do!
Take care and God bless!
Thank you so much Tina!
Thank-you so much for the this project, looks like I might be able to sew this. I’m a new sewer but I understand how you worded this. Thank-you again.
Love this! Thank you for sharing this tutorial; it’s very accessible for newbies to sewing and looks lovely.
Thanks Ann! I’m definitely no pro seamstress so if I offer a tutorial you know it has to be easy!! Have a great weekend!
(I think the tip that really helped me was putting it on the sewing machine inside out and pinning it on that way. Brilliant!)
Thank you for posting this! I was trying to follow a WAY overcomplicated tutorial and getting nowhere, and yours helped me finish up the cover for my sewing machine. 🙂 I love it! Thanks again!
Thanks Lindsey!! I’m no advanced seamstress (by far!) so I have to find the easiest way to do things if I have a sewing project!
Melissa…this sewing cover is fantastic. You have made your machine beautiful. Now I also want to create one for my sewing machine too. Thank you so much for this inspiration.
You’re so welcome Evelyn! This has been on my to do list much too long and it was such a fast project!
Oh man, this has been on my to do list for years. You make it look so easy, maybe I’ll give it a shot again!
It was so easy Vanessa, definitely give it a go!!
Such a coincidence! I just cleared all the mess (that wasn’t really there in the first place, I swear) away from around my sewing machine yesterday. Now she’s doing the same creepy whisper thing to me. Well, mine’s more of a whine because her cover’s really kind of crusted with old dust and it’s pretty sad looking. I think some fun fabric is in order here!