How to Build a Raised Garden Bed for a Square Foot Garden
This post may contain affiliate links. If you purchase through links on our site, we may earn a commission.
One of the things I was most looking forward to when we bought our “forever” home last summer was the ability to garden. Being a military family and moving so much I have done most of my gardening over the years in containers but I really wanted to expand on that this year. I debated digging a garden in the ground but honestly, dealing with the soil amendments and the creepy crawlies I often encounter in the ground was a big turn off. I had tried a raised garden bed once before and decided to give it another go, this time implementing the square foot garden approach.
My last raised garden bed was years ago and I built it for $10 using cedar fence planks, you can see the tutorial here. This time I wanted a more finished look so I opted to use this kit. It was affordable, incredibly easy to assemble and I loved the way the finished product looked. You can also combine it with additional kits to create a lot of different looks.
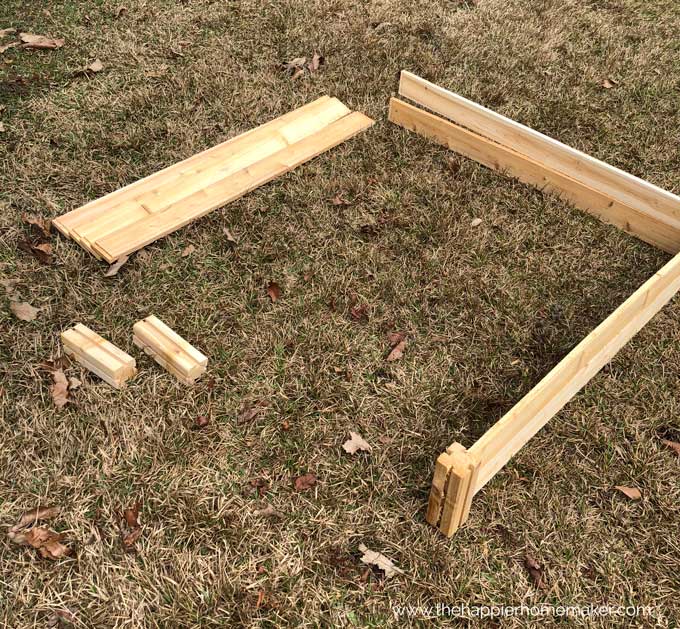
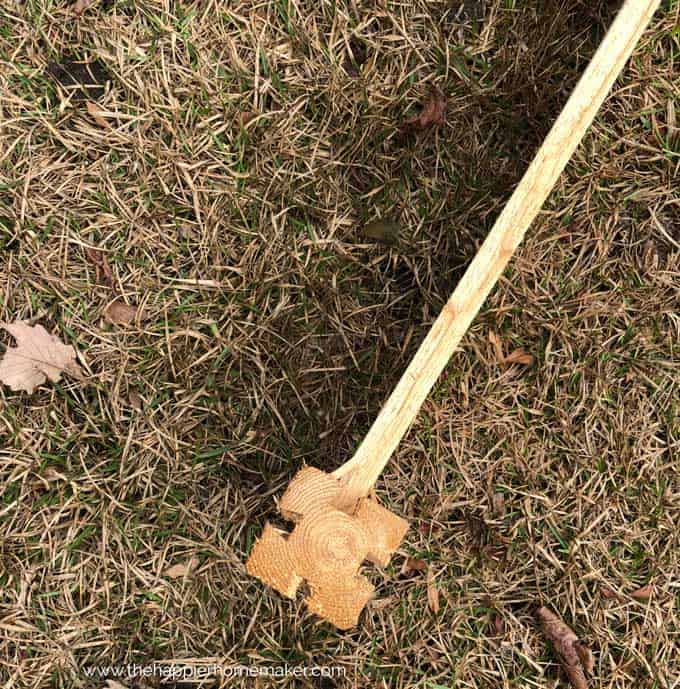
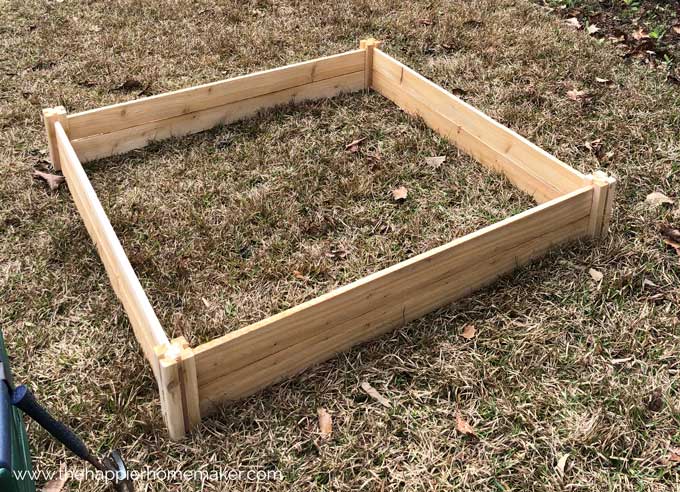
The kit had four notched corner pieces, eight notched boards, four caps for the corners and four wood screws. I started by simply sliding the boards into the corners, they fit perfectly.
It took all of five minutes to get the basic bed assembled.
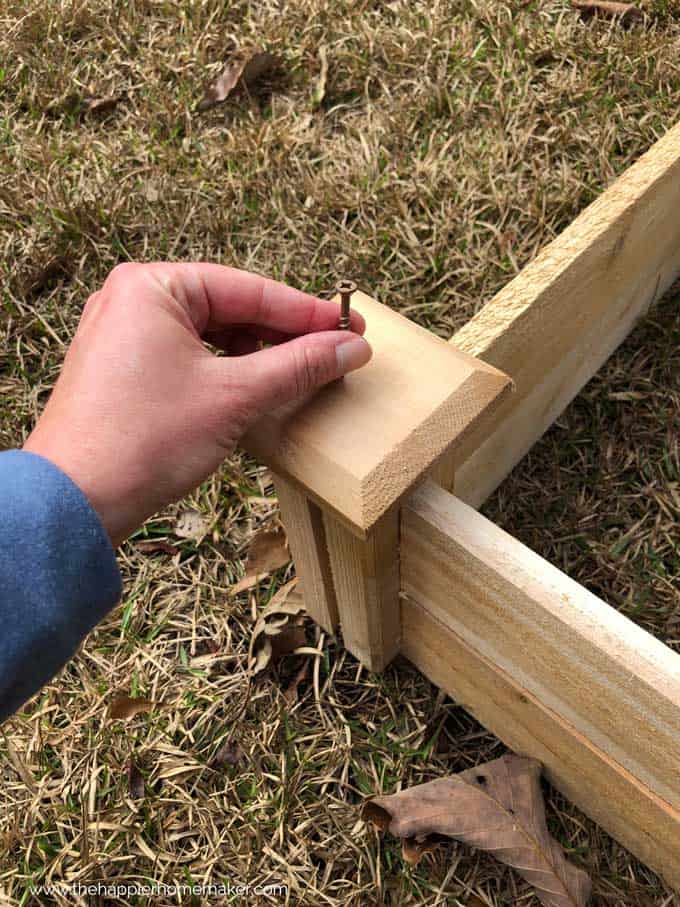
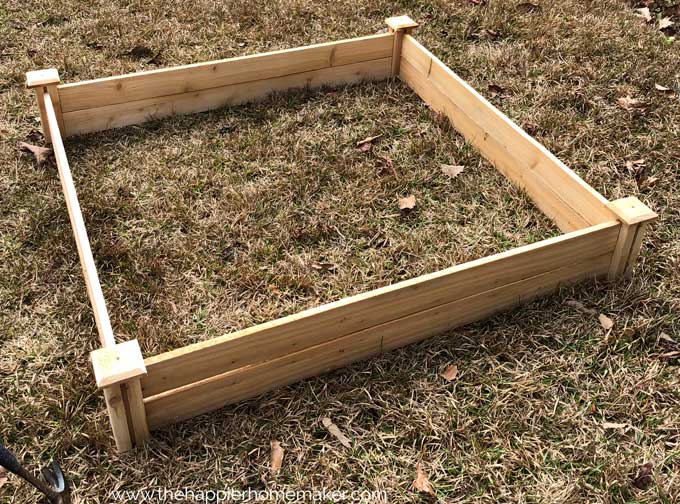
Then I used my drill to screw the caps to the corner pieces, I loved this detail of the garden bed.
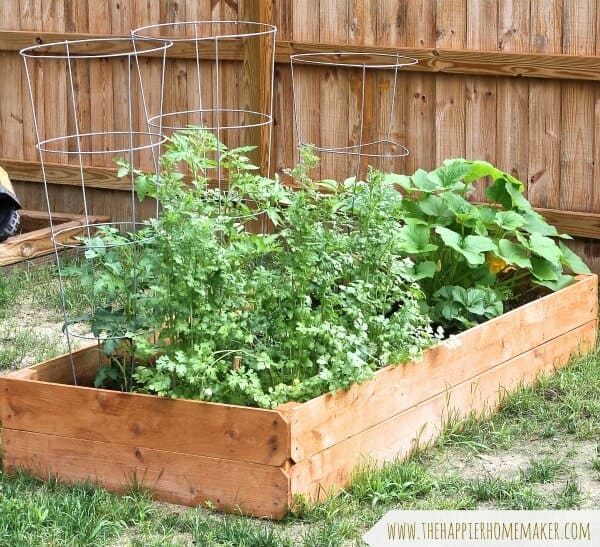
Once the bed was assembled I made sure it was in the exact location I wanted to place my garden. We have a lot of trees in our yard and finding a full sun area is difficult, which is another reason we wanted to use a raised bed (a little better looking floating in the middle of the yard in my opinion!)
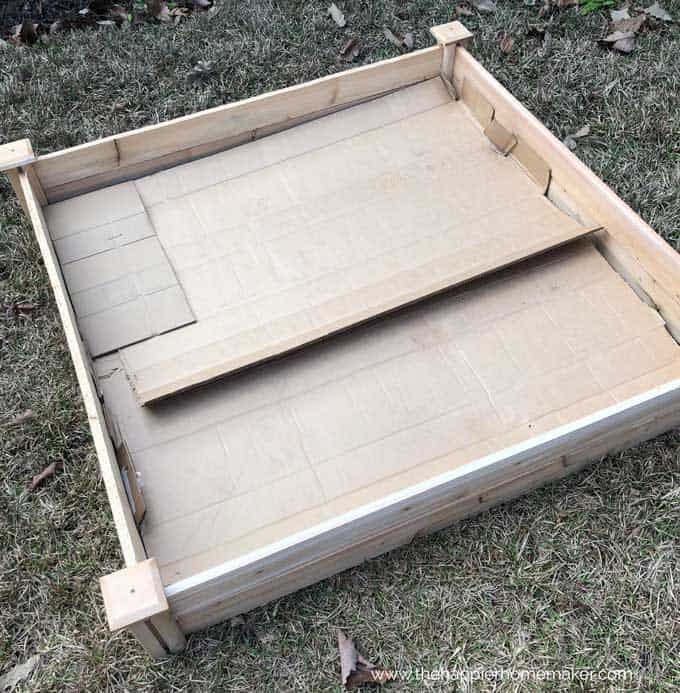
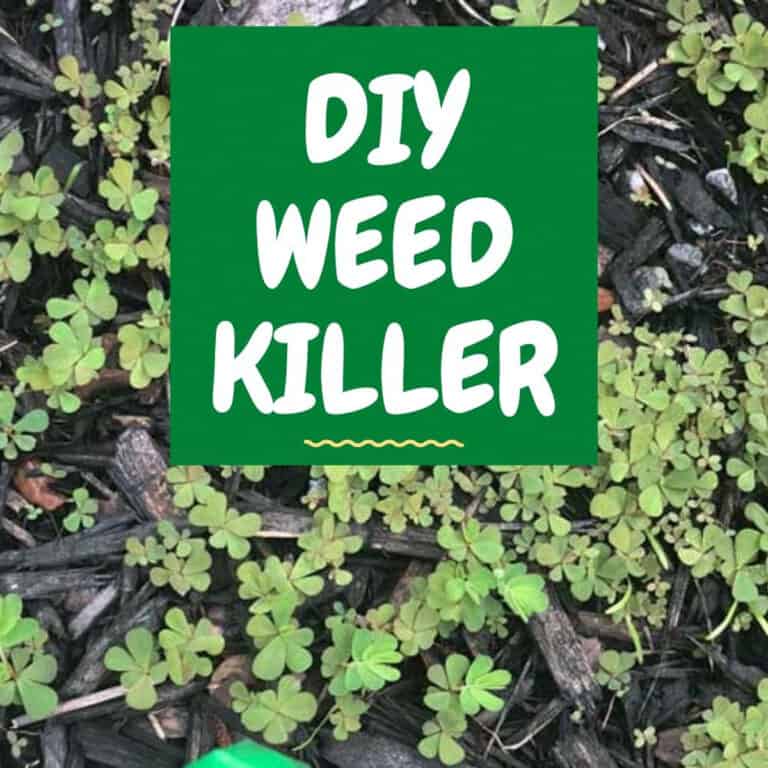
Then I layered cardboard along the bottom to keep the grass and weeds out. You can use weed blocking fabric too. (For more help with weeds see my post on DIY Weed Killer!)
Once the barrier was down it was time to fill it up! I am planning on using the square foot gardening method (read about it in this book) but rather than mix the planting medium myself I opted for premixed organic raised bed soil. (See the soil I used here, but it is much less expensive if you buy in person at Lowes or Home Depot.)
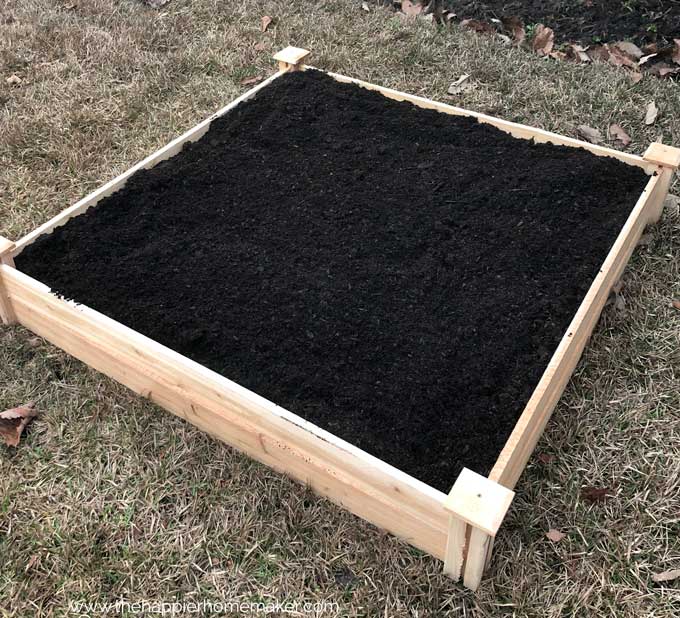
Once the soil was in the bed I used a rake to break up any lumps or hard areas and even it out. One of the reasons square foot gardening is so successful is that the soil is never compacted by stepping on it so it is easier for the plants to grow in it. This is also why you’re able to grow large plants in such shallow dirt (Mine was about 8″ deep, I used five bags per garden bed.)
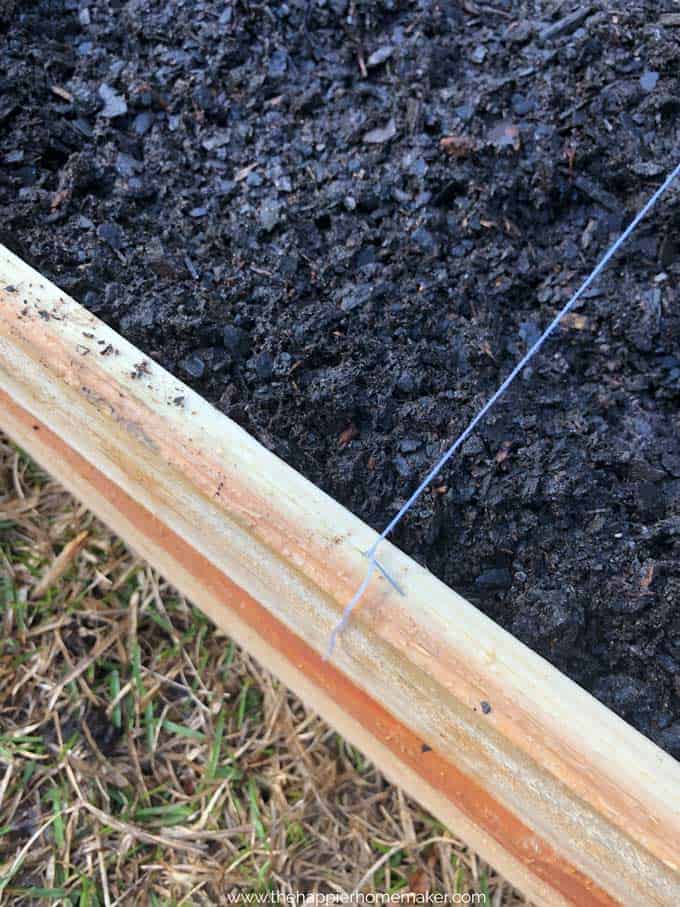
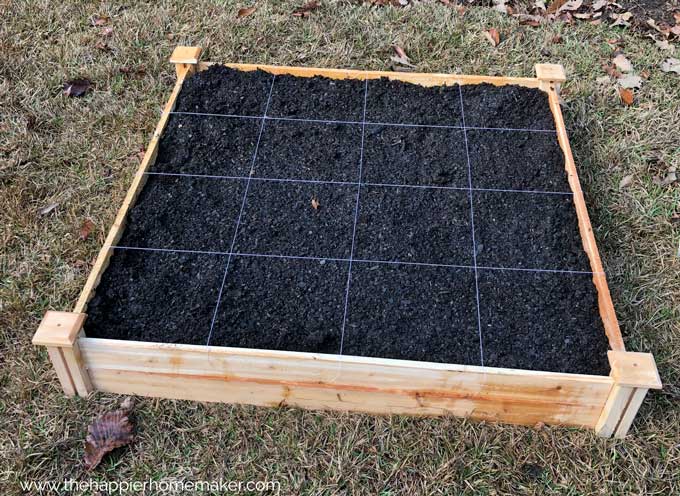
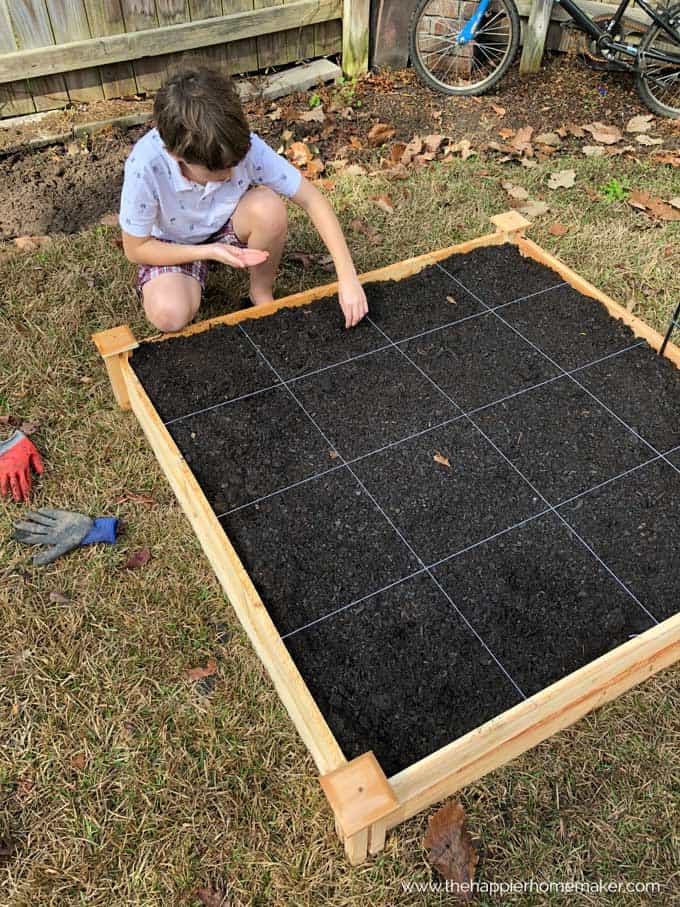
Once the bed was ready it was time to place my grid. I’ve seen some that used wood to create a grid but I opted for some inexpensive twine and a regular old stapler to make mine! I carefully measured so that each square was one square foot. The square foot gardening method spaces plants depending on size per section so important to know where those lines are. For instance, I will use two square feet for one zucchini plant and train it vertically to give it enough room to grow, but will be able to fit 16 carrots in one square foot.
I forgot to mention that this entire process was so easy I had my three sons (ages 6-11) helping. They were really waiting for the next step though, planting the seeds!
We’re having an amazing February here in south Georgia, it’s been in the 70s-80s for weeks now. I was nervous to put seeds in the ground so early but couldn’t resist! We planted zucchini, carrots, green beans, lettuce, basil and cilantro from seed. We will add more plants in the next week or two.
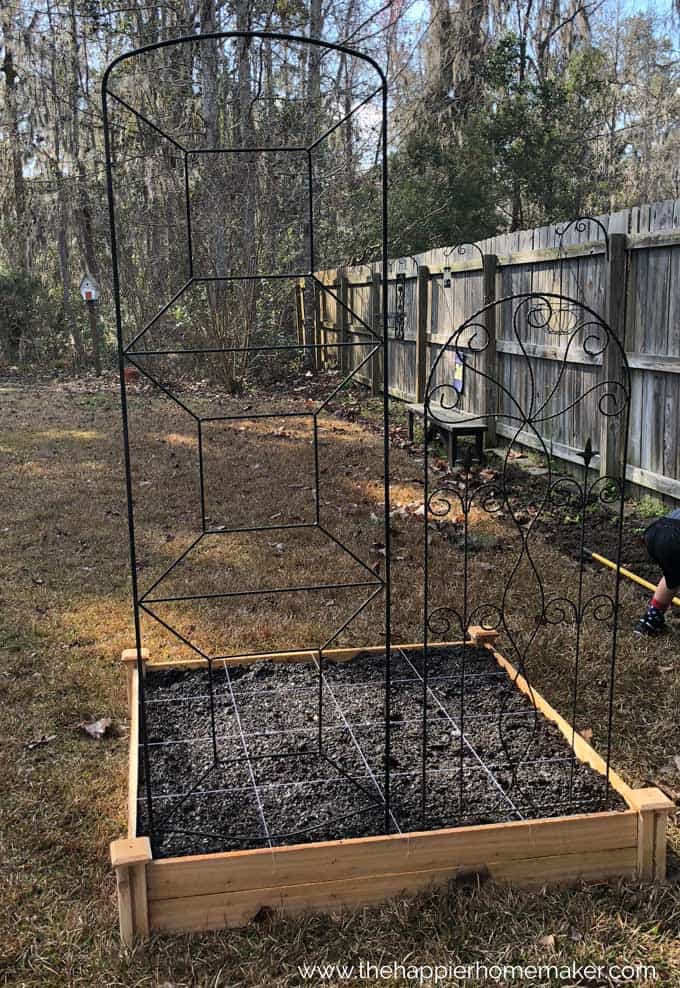
After planting we added some trellises on the north side of the box for the green beans and zucchini to grow up. (They are placed on the north side to prevent them from blocking the sun on the other plants when they get big. We loved the garden bed so much I went out the following week and bought the supplies for another!
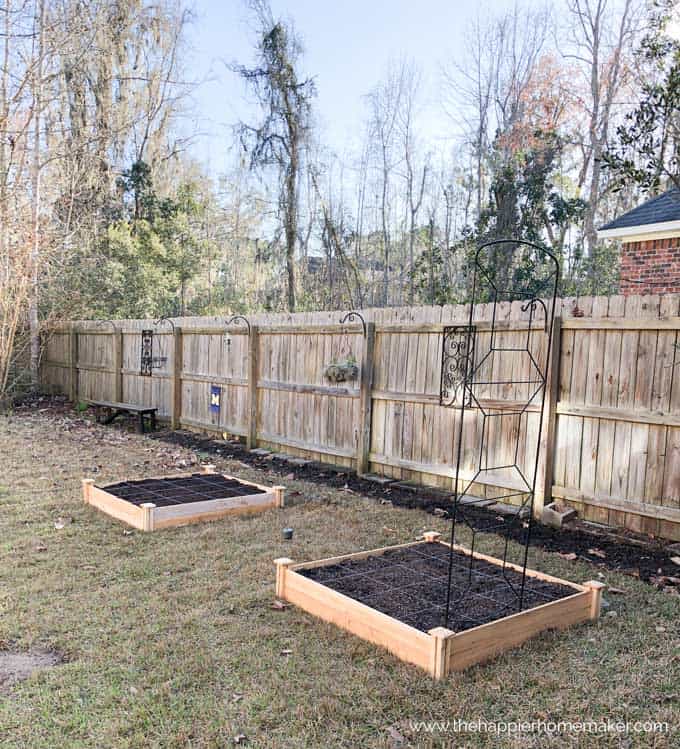
The area along our fence line had once been used as a garden by previous owners so I did decide to try a few things over there as well. We dug up the area, weeded and worked some manure into the soil (one 50 pound bag for the entire area. Then my boys and I planted (from left to right in the picture above) mammoth sunflower, zinnia, butterfly plant, a different variety of zinnia, American giant sunflower, and corn. This is more of an experimental area and I let my children decide on the plants we’d place here. Fingers crossed! We are also growing swtrawberries in the hanging planters above.
I’m not very experienced growing from seed but so far our basil, lettuce, zucchini, sunflowers and zinnias have sprouted. My boys and I love going out each morning to see how the garden has changed overnight!
If you’re in garden planning mode, check out this free printable garden planner I shared last month. You can also see all of my gardening posts here. And please follow along on Instagram where I share lots of pictures and stories of our progress in the yard!

Thanks. I’ve been looking for this very thing. And thinking about it made my task insurmountable.
You’re welcome, I hope its helpful for you!
Do you have a plan or resource of what you put in each square?