Flower Bed Makeover
This post may contain affiliate links. If you purchase through links on our site, we may earn a commission.

When we moved into our new home last July I knew the yard was going to need some work. We didn’t receive our belongings from England for two months after the move so other than mowing with an inexpensive lawnmower we bought to tide us over the yard was left to its own devices. By the time September rolled around and we finally had the lawn equipment we definitely had our work cut out for us!
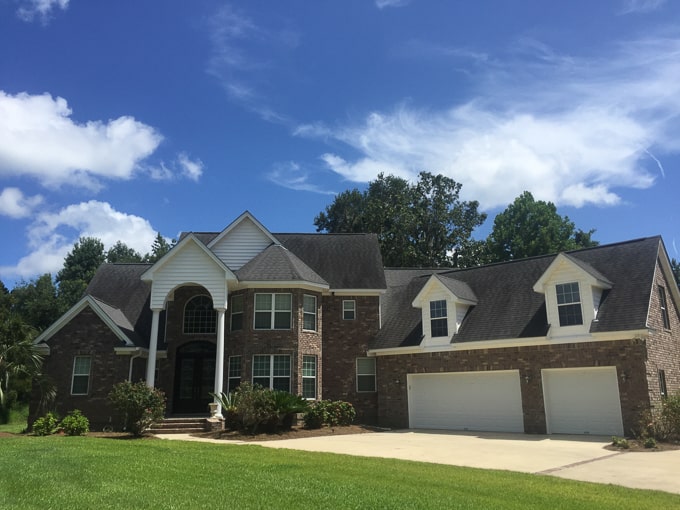
The first job to shape up the yard was edging-you can see that a huge portion of the yard is along our very long driveway. With months left unattended, the centipede grass had overtaken the driveway by a few inches everywhere.

The grass had also started to overtake the flower beds, see it working its way into the mulched area and over the edges of the sidewalk?
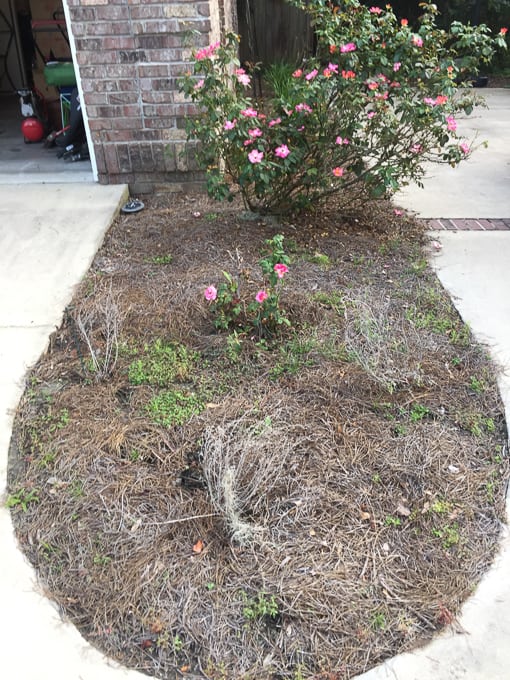
I also wanted to replace the old pine straw mulch. We’re in coastal Georgia and pine straw is the most common mulch around here because it’s inexpensive and plentiful. Honestly, though, I hate it. I am traumatized by our years in the Florida panhandle where I was told that pygmy rattlesnakes like to hide in it. Sure enough, a neighbor found a nest of them next to her front porch in some pine straw! While I’m sure that’s rare, I never felt completely comfortable walking in the flowerbeds to prune the plants with the pine straw there so I wanted to replace it.
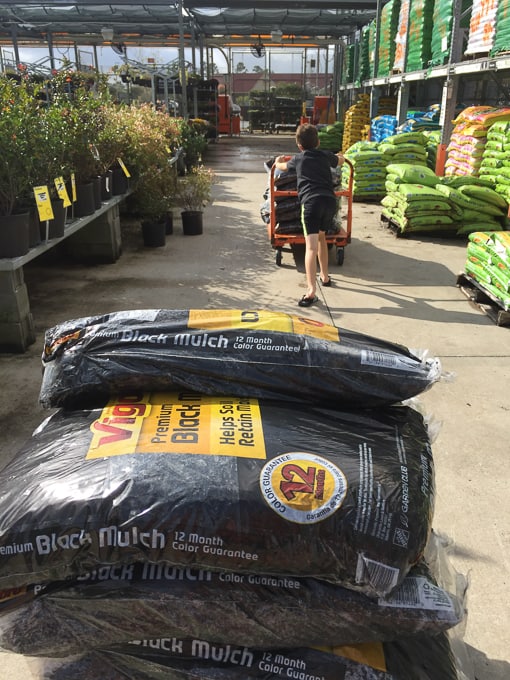
If budget wasn’t a concern I would have gone with rubber mulch just because I like the color and the fact it wouldn’t have to be replaced constantly BUT after moving from England, buying two vehicles and new living room furniture, our budget needed a fast and lower cost fix for the mulch. We decided on black wood mulch with the knowledge that we’ll need to refresh or replace it next year.

My minivan got a workout over this project. Each time I went to Home Depot I would pick up two or three dozen bags of mulch, load up the van and then come home and unload-it was quite the workout!
We ended up using 82 bags for the front yard flowerbeds alone in the fall! I was so exhausted we saved the backyard for last month when the weather started to warm up.
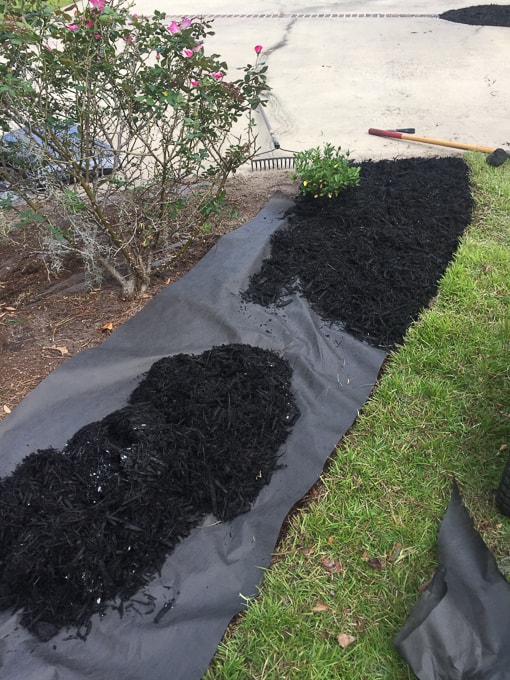
For each flowerbed we completely removed all the pine straw, weeded (they needed it badly!!), edged and then laid landscape weed blocking fabric down. Then we topped it with about 2-3″ of mulch. I felt like I did nothing but mulch the yard for two solid weeks straight!
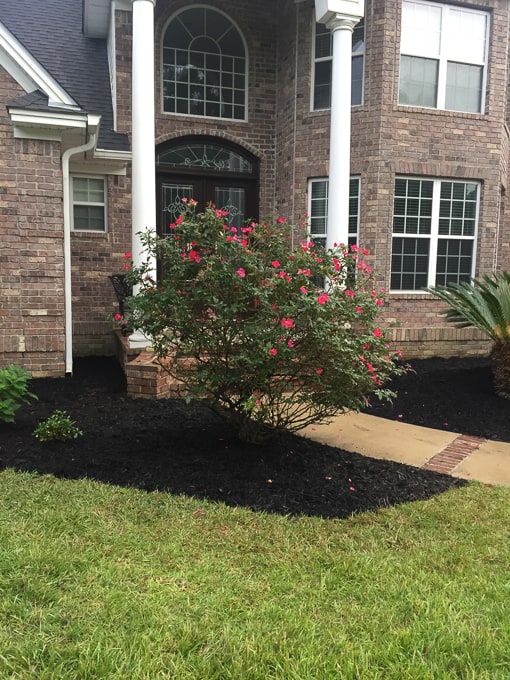
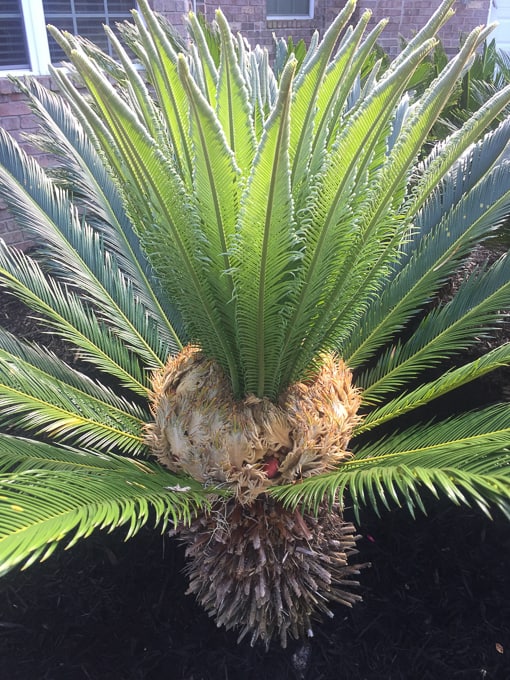
The difference was pretty drastic right away-the dark mulch was a much better contrast and the clean edges of the flower beds made them pop against the once again under control grass! By the way, we had one of our Sago palms undergo a weird metamorphosis during this time. One day I noticed this alien looking bulb in the middle of the fronds. Then the bulb sprouted new fronds and you could see what I’m assuming are its seeds? They looked like red eggs inside the bulb area. Very odd.
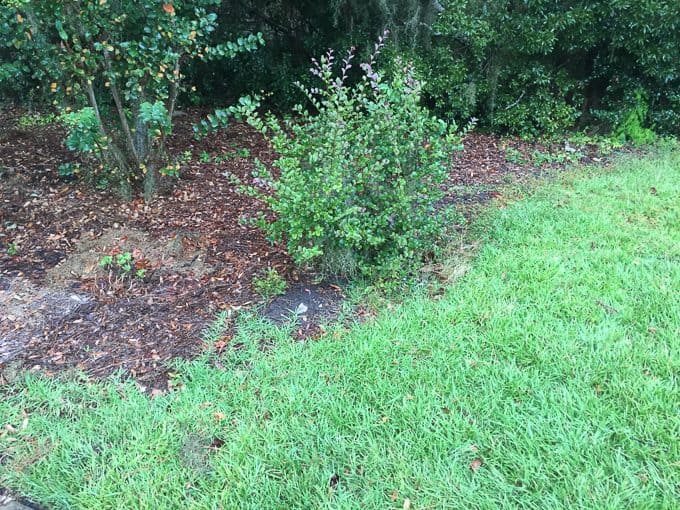
As we were mulching the flower beds I also took the opportunity to add some plants to the flowerbeds at the front of our driveway where it meets the road. One one side is a small area around the mailbox and the other side had a pretty neglected area that is mostly shaded by a large oak tree.
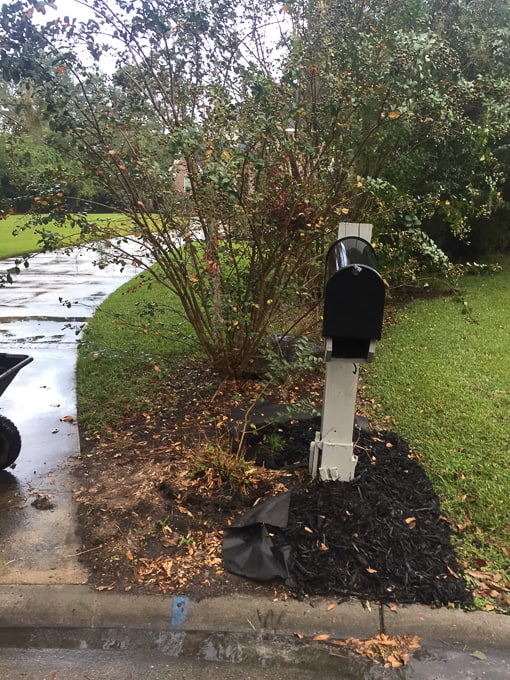
On the mailbox side, we ripped out the weeds that had overtaken the area and laid the landscape fabric and mulch as well as planted a dwarf limelight hydrangea. I’m very excited for this guy to grow, it should end up about 3 feet around and give me lots of pretty flowers to cut!
On the opposite side of the driveway, I planted five snowball hydrangeas. They should flourish in the dappled sunlight that area gets and will be a very pretty welcome when they are fully grown. (We already have four Endless Summer Hydrangeas in the flower beds on either side of the front porch.)
I’m really excited to see the plants we put in grow this year and I’m so pleased with the difference in the front yard so far! Thanks for sticking around this far to see the progress!


Highly recommend Preen to fight the weeds! Pull all existing weeds and sprinkle the Preen. Will take care of 90% of your weed trouble.
Great job, Melissa and Randy. Getting ready to remulch my front flower beds soon.
Wow -Awesome job!
Your flower beds look great! This post gives me hope for our neglected beds. We moved into our home at the end of summer and didn’t have a chance to tend to them before fall/winter hit. This is an adventure we have to tackle when the weather warms up (dealing with Ohio winter right now 🙂 ).
What did you lay down under the mulch to prevent weeds? Is it working well for you? Weeds are our biggest problem…it seems like they pop up out of nowhere! 🙂
xo,
Desiree
stayathomecrafter.com
Hey Desiree! We put landscape fabric down that had weed block in it. I believe I bought it at Home Depot. (I think this one: https://www.homedepot.com/p/Vigoro-3-ft-x-100-ft-Polyethylene-Weed-Barrier-Landscape-Fabric-1251RV/302720137) I made sure to thoroughly weed after pulling out the old mulch and slightly overlap the fabric when putting it down. In the spots it didn’t overlap or there was a gap I’ve already seen weeds come up so don’t neglect that part! There are a few weeds coming up in spots but I assume those are places where I didn’t get good enough landscape fabric coverage and it’s just one here or there that I can easily pull out as I walk around the flowerbeds, no major weeding sessions required. Let me know if you do yours, I’d love to see before/after pictures! ~Melissa