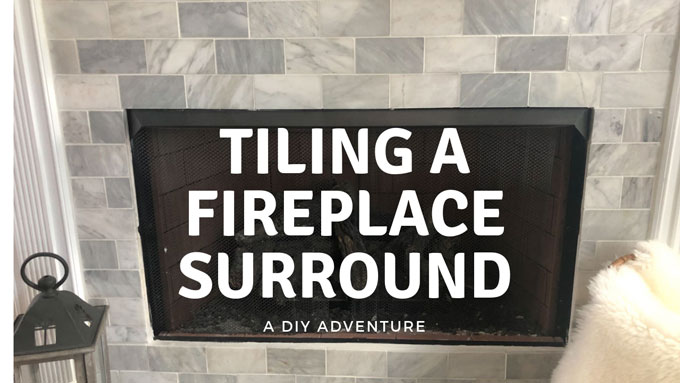
DIY Tiling Fireplace Surround
This post may contain affiliate links. If you purchase through links on our site, we may earn a commission.

Before I even start this post I want to put a HUGE disclaimer out there that we are not professionals and this is not intended to be a how-to. It’s more of a “this is what we did” when it came to tiling a fireplace surround. We have been wanting to replace the tile on our fireplace surround since buying our house about 18 months ago. If you’ll remember, the area looked like this when we bought the house.
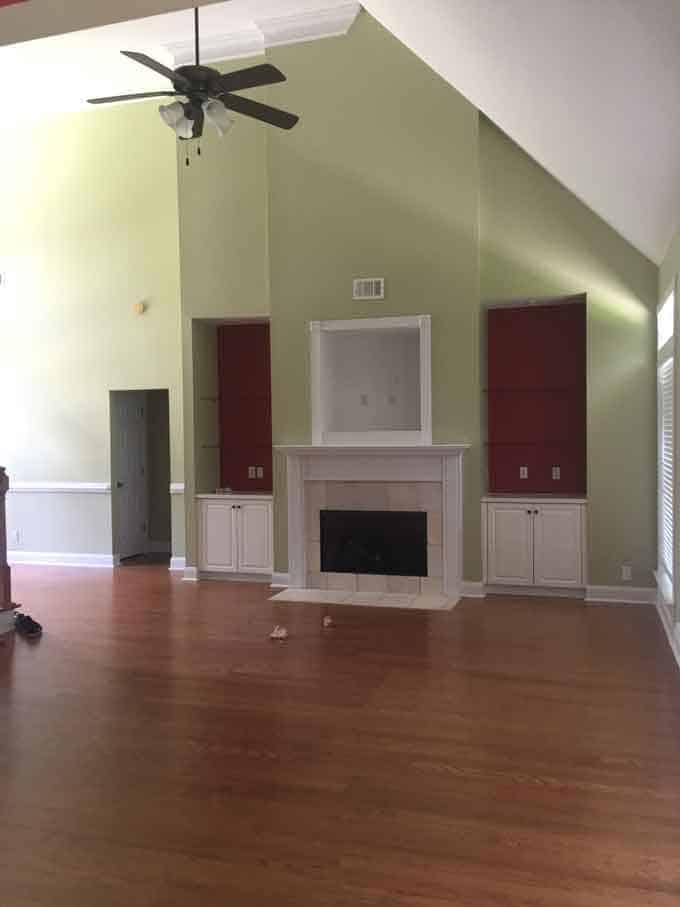
After painting the house and removing the TV alcove above the fireplace, it looked like this.
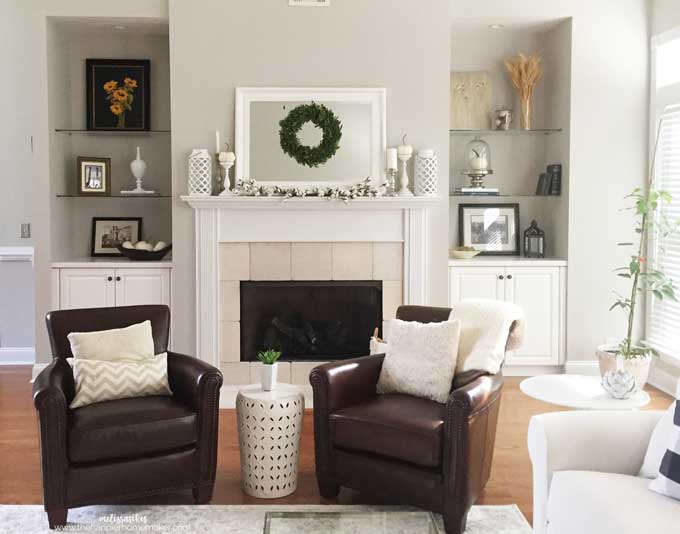
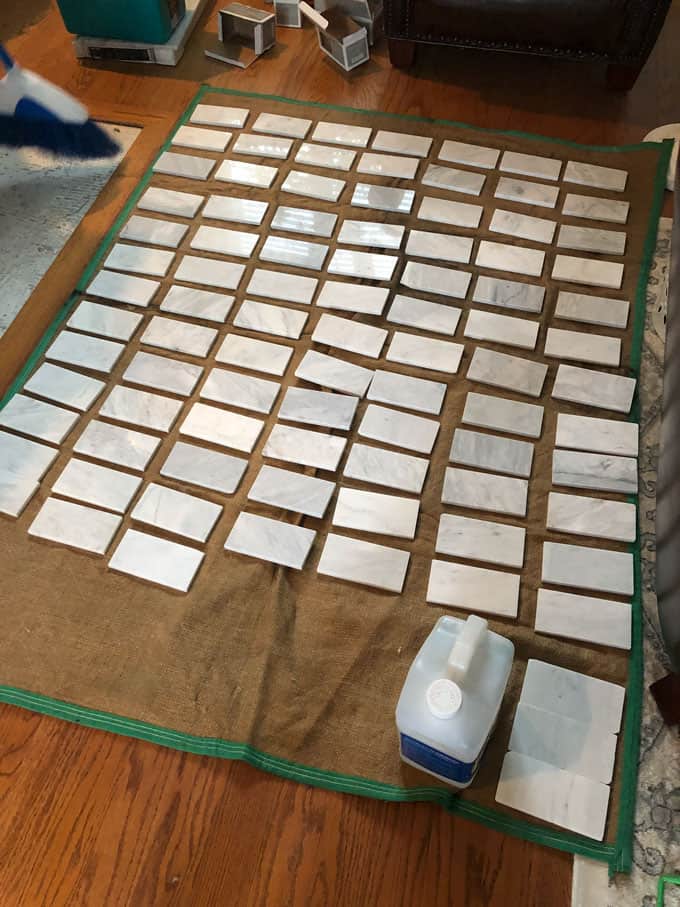
The painting made a huge difference but when the wall color changed the tile surrounding the fireplace looked sort of peach colored to me and just generally dated. My husband Randy found some marble subway tile and large marble rectangle tiles for the hearth and bought them while on sale about six months ago and we looked into hiring someone to put it in for us.
Y’all.
They quoted us $2000 for the job. And that’s with us already having the tile! I totally get paying people for their work but there was no way my frugal self was putting that in the budget any time soon. And so we decided to DIY it.
Randy was the lead on this project. He did the research and I was the helper. We did it over the course of about 5 days little by little and learned a lot along the way. I filmed throughout the entire process so we could share our setbacks and things we learned. Watch the video for the full story:
One thing we read recommended was to remove the mantel before doing this. We decided not to do that about the same time we decided just to tile over top the existing tile. Time will tell if this was a bad decision but so far we don’t regret it in the slightest.
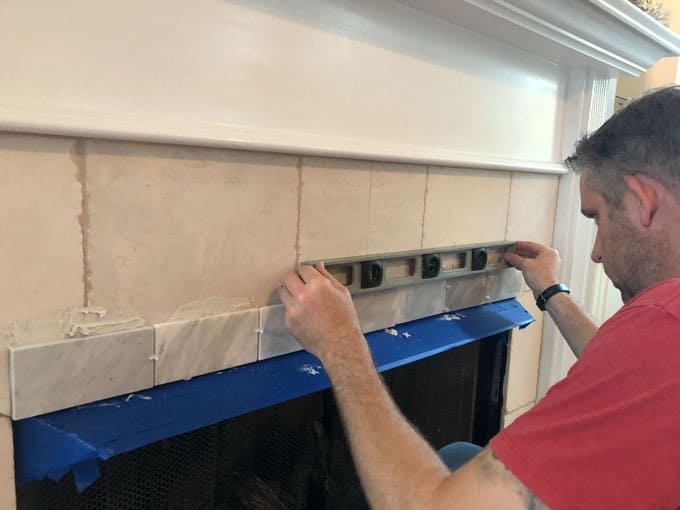
It made the project easier and you can’t tell that the underlying tile is there. The only difficulty we had with not removing the mantel was fitting the two floor pieces under the bottom of the mantel. We had to use a Dremel to sand down the bottom to get the tile to fit.
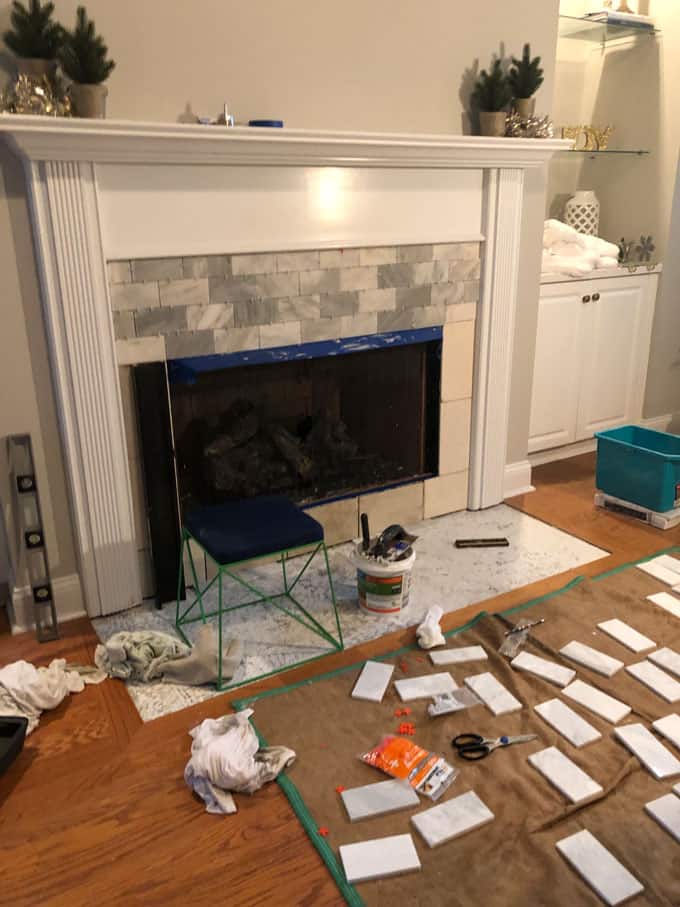
The hardest part for me was the tile sagging as we were putting it up on the vertical surface, even though we were using a thin set that was meant for vertical tiling. It was stressing me out! We ended up propping the bottom supporting tiles with wood as it set and did the process in multiple stages. For Randy, the hardest part was cutting the final two floor tiles that needed to fit until the mantel. It was a lot of back and forth and minor adjustments with the wet saw before we got them to fit properly.

Was the project fun? No. Would I do it again? Yes, definitely. I love the way the finished fireplace looks and that we did the entire project under $400 (that includes buying the wet saw which we can use for future projects as well.

What do you think? So much better right? Have you/would you try a project like this in your home?


Hi Melissa,
How is your fireplace tile holding up 2 years later? I bought glass tile to re-do mine, and now am reading up on the process and hoping I can just tile over my existing after seeing your post! The tile I bought was pretty pricey so I’m getting hesitant to do it now if it isn’t going to last long term 🙂 thanks!
We moved last year and it was holding up perfectly when we left (and the new owners haven’t mentioned anything when we have run into them around town!)
Where did you get that painting above the fireplace?!
Where can I find the video that you made? I too am considering tiling over the existing tile. Please help. Thanks.
It’s here: https://www.youtube.com/watch?v=Lm5f_nIp-TQ
Cool! nice idea thanks for sharing this, i want to try this for my next project in drywall repair near me.
You’re welcome!
Do you know the exact tile you used? I absolutely love it and am having a hard time finding something just like it.
I’ve been considering the same thing for a while now (tiling over existing tile). Do you have any tips or suggestions where to find tips? I want to be sure it will hold up! Thanks!
That is a good. You did a long and professional job here. I think this is going to be masterpiece.
You guys did a terrific job. An inspiration and encouragement to DIY. I’m going to attempt mine this weekend. I hope I’m as successful as you.
Good luck Linda, it was definitely a process and was frustrating at times during the process but I don’t regret it one bit! We’re currently renovating our kitchen, I’ve moved a lot of my DIY content to a new blog, if you want to see that process you can see it here: http://www.southgeorgiastyle.com I’ll be posting our demolition sometime this week with a video! ~Melissa
You made a huge transformation with your fireplace and it looks great! That beautiful picture can’t deny it.