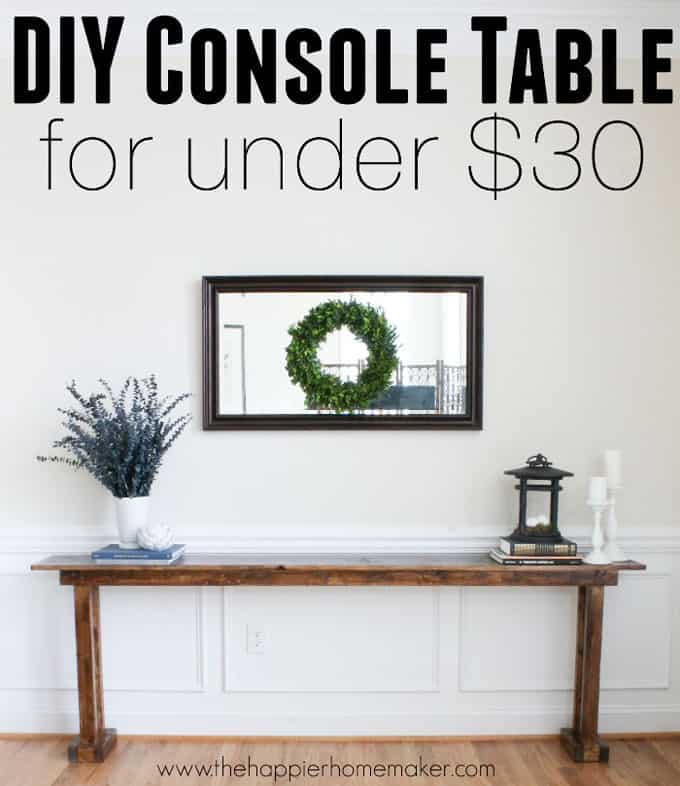
DIY Console Table for $20
This post may contain affiliate links. If you purchase through links on our site, we may earn a commission.
If you’ve been reading my blog for a while you’ve probably noticed that I haven’t posted nearly as many building projects since we moved to DC last May (has it almost been a year already??) There’s a good reason for this-we just don’t have the space we had at our last house for the actual building process or space inside to keep any new furniture….urban life is definitely more cramped than it was in the ‘burbs! That being said, my husband had been tossing around the idea of building a console table for our living room after I may have complained a few (hundred) times about not having enough “surfaces” in the house to decorate and place pretty vignettes! He finally decided to take advantage of our last big snowstorm of the winter a few weeks ago to knock out building our DIY console table!

As I said, we knew we were getting a big snowstorm a few weeks ago, and my husband being the busybody he is decided to book it to Home Depot as the flakes started coming down so that he could have a project to work on while we were trapped in the house. He made it home just before the roads got too bad and left me to wrangle my three boys while he got to work in our garage. (Don’t judge the garage pics y’all-it was dark and the floor is an absolute mess of stains!) *post may contain affiliate links
Supplies:
- (1) 8 foot 1×12 board
- (6) 96″ 2×3 boards
- 3″ wood deck screws
- drill (We use this Ryobi Impact Driver and this drill-they are my favorites)
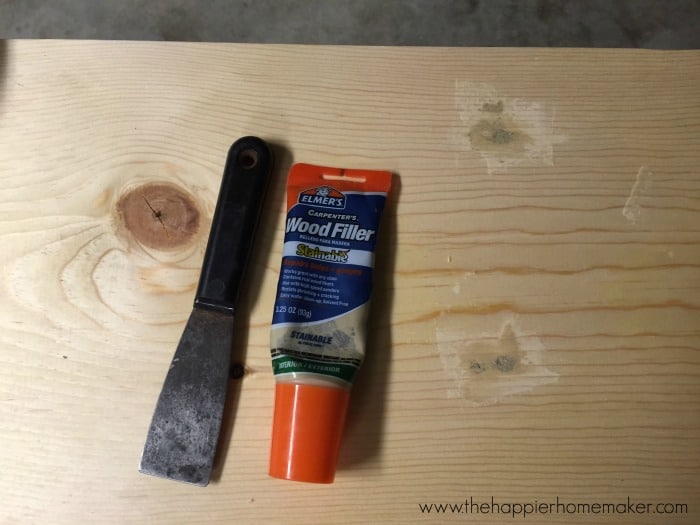
- wood filler
- sandpaper
- stain (I used this and this)
- wood conditioner (I didn’t have this as it turned out but I don’t recommend skipping it like I did)
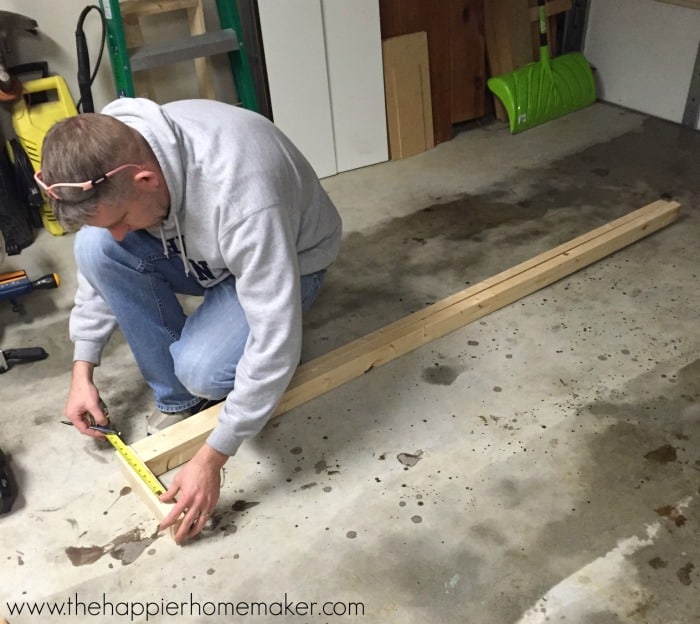
(Did you notice he grabbed my pink safety glasses? I didn’t until I was editing the pictures!) Excuse the dryness of the tutorial-I was peeking in every few minutes to take a picture-it was so cold in the garage!!
Cut the 2×3 boards as follows:
- (2) 7′ long
- (6) 30″ long
- (4) 9″ long
- (4) 6″ long
- (4) 3″ long
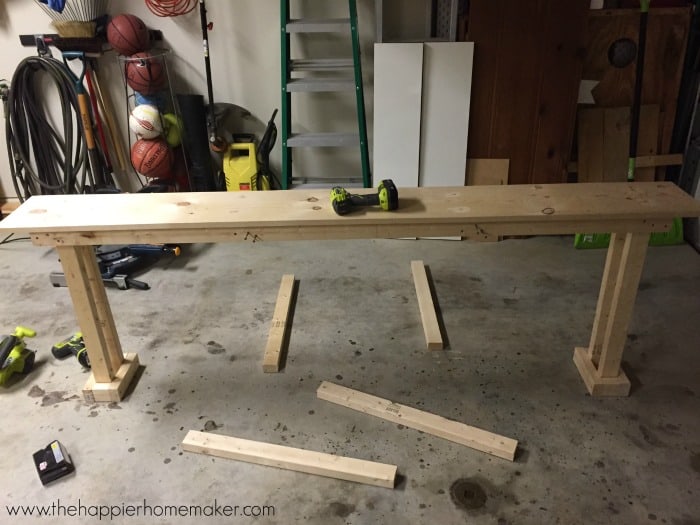
The first thing he did was create a frame for the tabletop using the two 7′ boards and 4 six inch boards. He pre-drilled all holes prior to securing with the screws.
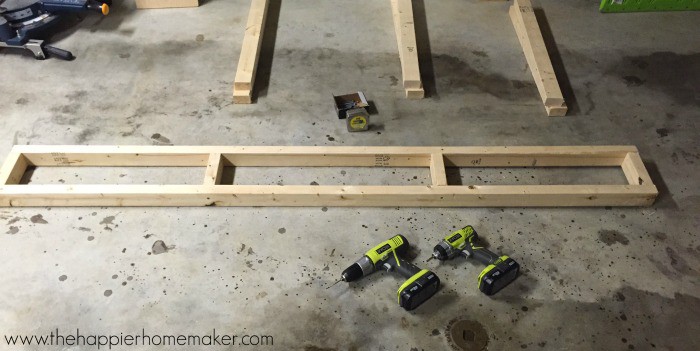
Once that that framed out he added the 1×12 for the top, using 2 screws in each of the six inch framing boards to secure it. He then filled the wood holes with putty.
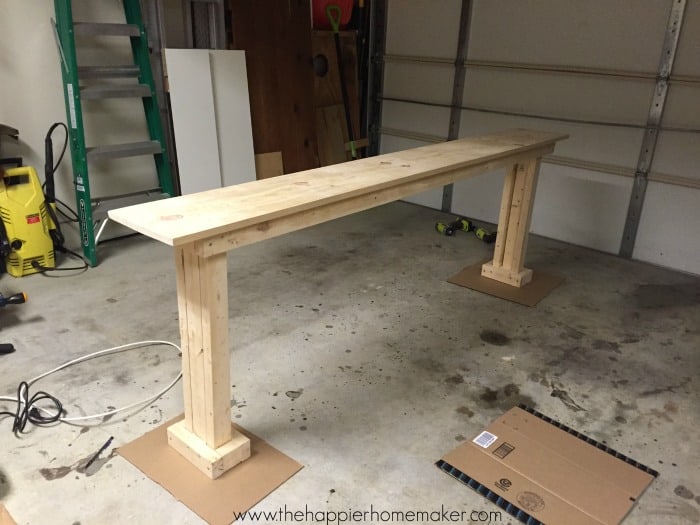
Next the entire table was turned upside down so he could attach the legs. On each end of the table two of the 30″ boards were attached to the inside of the frame, then a third 30″ board was wedged between them to create a very shallow “U” type of shape. This wasn’t part of our original plan (what we had of a plan as this was more of a plan as you go build!) but it looked much better with the third board between the legs due to how narrow it was. Next the entire bottom was boxed in to create a base using the 9 and 3 inch boards.
At this point my husband switched out with me so I could finish the table and he could have a go at the three crazy kids bouncing off the walls wanting to get out in the snowstorm!
I sanded all the edges of the table as well as the areas where he had filled screw holes with putty. At this point I realized I was all out of wood conditioner which was very inconvenient because I ALWAYS condition wood before I stain it and there was no way to get out in the storm to get more. I decided to try and stain without the conditioner but don’t recommend it…I ended up having to do more coats to fix blotchiness.
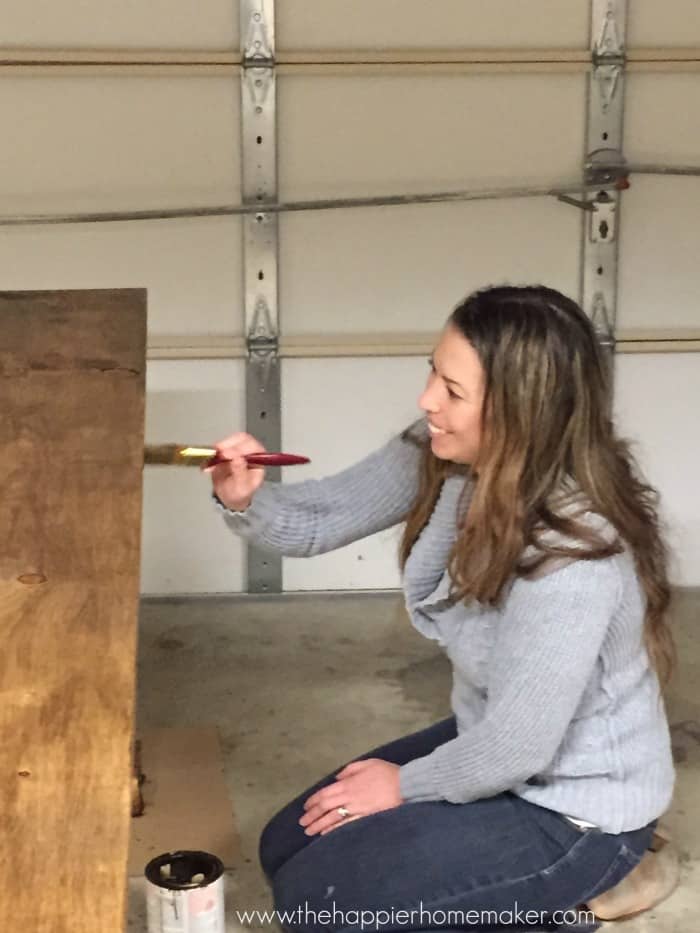
I can’t even tell you how cold I was out in the garage staining! My husband thought this was hilarious as he poked his head to check on my progress and snap this pic…he likes to make fun of my Southern disdain for any temperatures under 60 degrees.
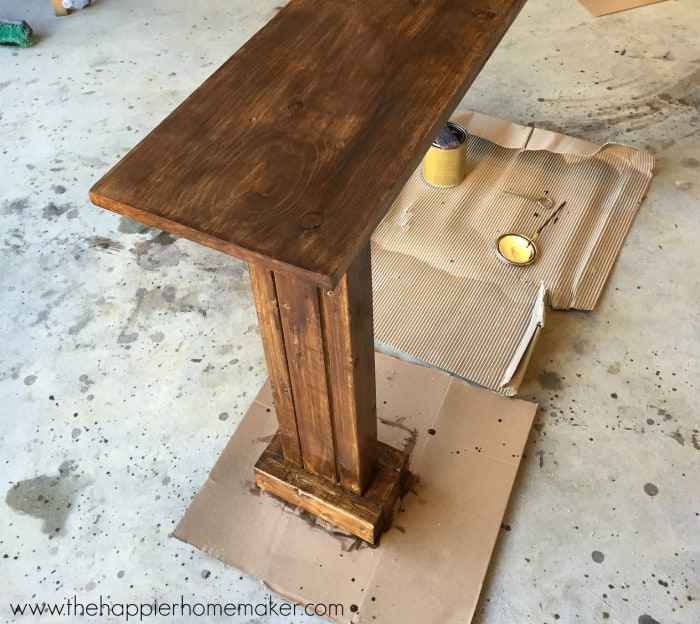
I used one coat of Kona stain followed by a coat of Mission Oak Polyshades to try and correct the irregular staining I mentioned before. The Polyshades has polyurethane already in the mix so I didn’t have to do that additional step.
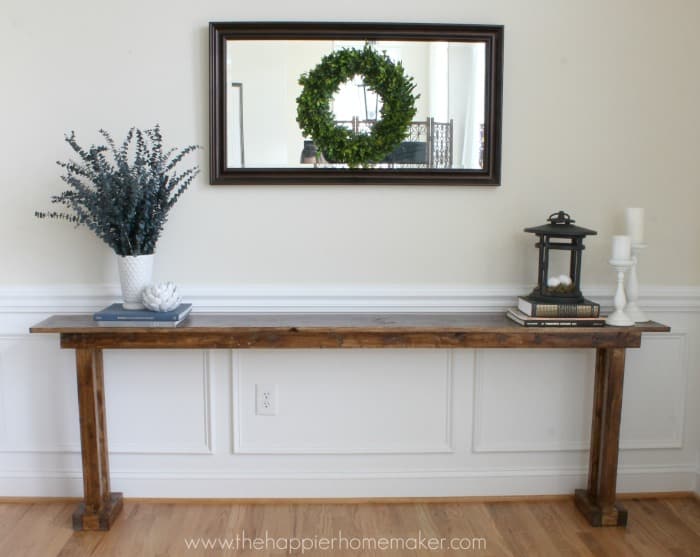
I really love the way it turned out, and it was a fairly quick project! It’s actually between the wall and our couch right now but I moved the couch to so you could see it. I’m hoping at our next house it will be able to be behind the sofa but visible because I think the details are worth seeing!
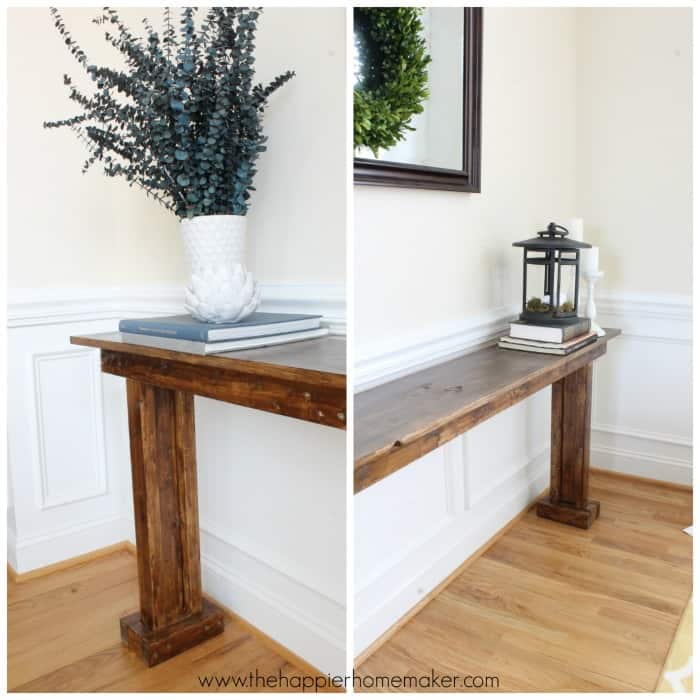
We also made ours to fit the exact length of our sofa and the plans could be easily altered to fit any area you wanted, although I wouldn’t recommend going much longer than ours unless you are going to brace the bottom or add more stability to it.
Is anyone else ready to get to work on some DIY builds now that the weather is warming up? I have a huge pile of things waiting to be spray painted that I’m tacking this weekend!


Just curios how strong it is in the center? How much wider would you make it for a stand alone to keep it from tipping?
Thanks!
Lindsey
Ours is very strong in the center, I currently have some heavy planters on it. I keep mine against a wall and it doesn’t tip but I’d probably increase the base to at least 12 inches for added stability.
Hey there, I would love to make this table as well, can you provide the dimensions of the table once built? I’m curious if I will be able to fit some small stools underneath it.
Thanks!!
I found you via Pinterest. LOVE this table! I’m learning woodworking, and I think I can do this! I want to make a table to sit an electronic keyboard on. Thinking if I make the top wider it will work! What is the finished width of your top please?
It’s just under 1 foot wide. I’d widen the legs also if you make the top wider so it will stay stable.
You sound like me trying to get by with what you have and not conditioning the wood then having to work harder to fix it. But you have done a fantastic job! Will see if I can convince my hubby to tackle this with me in the coming week. Thanks for the ideas.
You’re so welcome, I hope you are able to convince him!
We are building this today…6 ft long
I will upload pics along the way
Thinking of painting the base black and staining the top.
Here we go
I’m wondering how the feet are attached to the legs (my pea brain), 😕 The table is beautiful, btw.
Where did you find 2×3 boards? The only ones I can find in my area 3ft long.
The 2 by 3 boards are 2 inches thick and 3 inches wide, for this project I bought 6 eight foot long boards of that measurement. I found mine at either Home Depot or Lowes, I don’t remember which but all should have it. Just ask an associate!
What is the length and width of the table?
Great console table, the way you listed out the cutes for 2 x 3 boards. Should we cut it in that order to save some waste or does it doesn’t matter the order.
cuts** not cutes**
Hi Sarah, I always cut biggest pieces to smallest to get the most out of the wood I have and save waste. I hope that helps! ~Melissa
Building this today! So excited. Thank you for sharing
Do you have a picture with the size of wood parts labeled?
I’m so clueless so I need MAJOR help- I’d like to have this be a 5 ft sturdy standalone table. How do I tweak the measurements to reflect that?
Good job! Question about how sturdy is it? Mine would be behind couch in a walk way. Does it seem “tippy”?
🙂 Thank you.
Kim
Yes Kim, it can be a bit tippy with these measurements-I would only use between a wall and couch like in my picture-because it’s so thin it’s less stable. You could widen the plans a bit if you wanted to use it open to a room. ~Melissa
Love the table! What length of wood deck screws did you use?
Thanks Mycah, they were 3″ wood screws.
How tall is the table once it’s completed? It’s a math thing…
Love this! I just need it to be about 5 feet long. I need to figure out how to shorten it. How tall is it? I’d love any advice you have!
I built the table for my wife using the instructions but made it 5 feet. Just cut the longest 2 × 3 boards to 54 3/4″.
Forgot to put in my comment that I returned 2 of the 2 × 3 boards. So if the table is 5 feet long, you only need to purchase four 2 ×3 boards.
That is a gorgeous table! Well done, both of you!
So simple but fancy! I love it! 🙂
My husband and brother-in-law are each incredible carpenters. If you’re not going to stain the wood use any vegetable oil to keep it in good shape.
Great tip Jenni, thank you!
I have so many projects that have been piling up in my house! I’ve just been waiting for weather warm enough to use spray paint! And now of course I’m waiting for all this pollen to go away! 🙂
Love the table!! As soon as I can get a saw I want to make something like this. I guess I could always have the guys at Home Depot cut it for me!
The length of the short pieces are incorrect. The 9 inch pieces should be cut to 8 1/2, the 6 inch pieces should be cut to 5 1/2, and the 3 inch pieces should be cut to 2 1/2. This way everything will fit tightly together. I just finished building this table and these measurements worked out.
Thanks for the tip! Going tomorrow to buy the wood and other materials. Since this was 5 years ago, when I priced everything out from Home Depot/Lowes, the cost was around $60. Still, a GREAT price for this size table!!!
I’ll make a note to update the post after I go to the hardware store this year, 5 year old prices are definitely outdated!